
Cherry Pie Bombs

Mini cherry-filled biscuit bombs rolled in cinnamon sugar and cooked until golden — air fryer friendly and perfect for spring and summer gatherings.
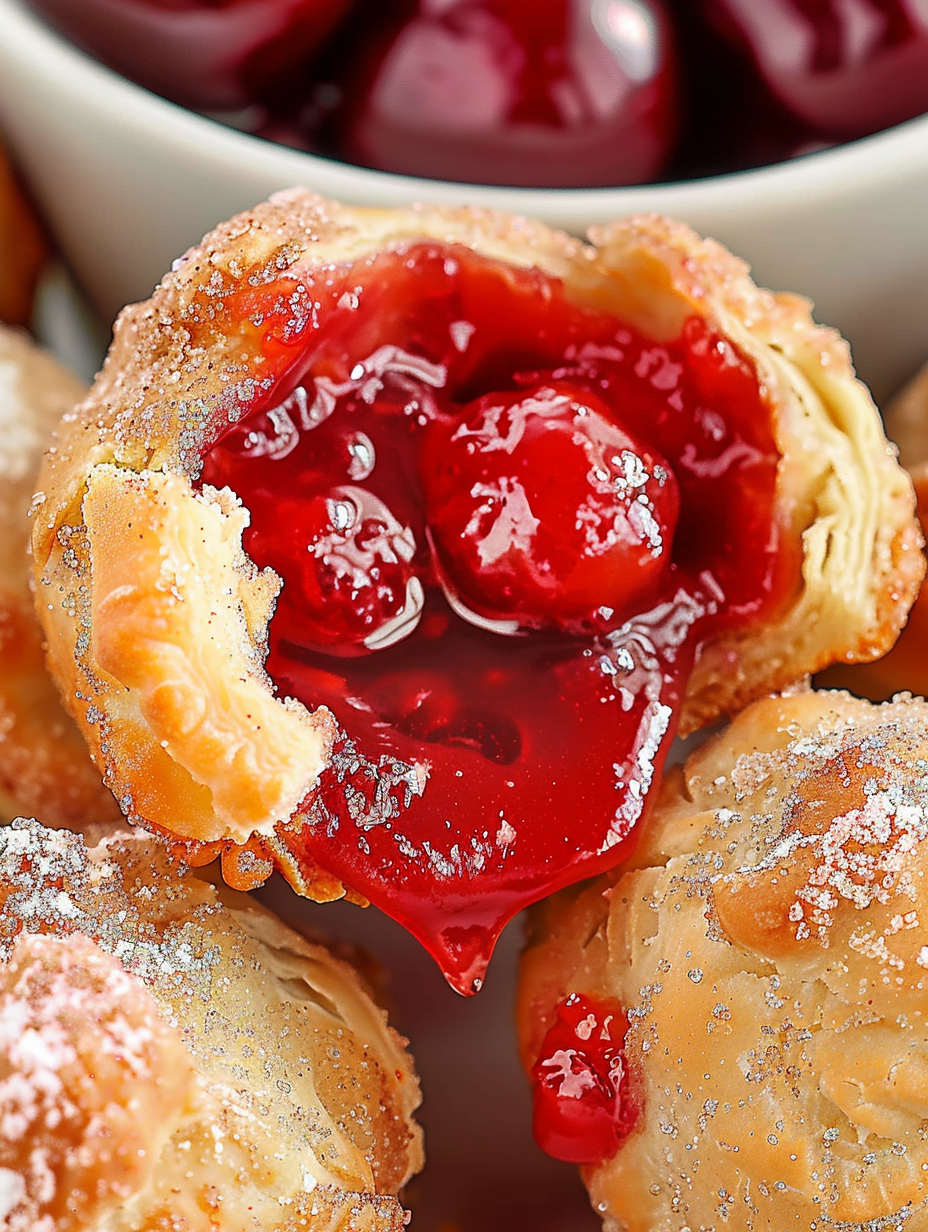
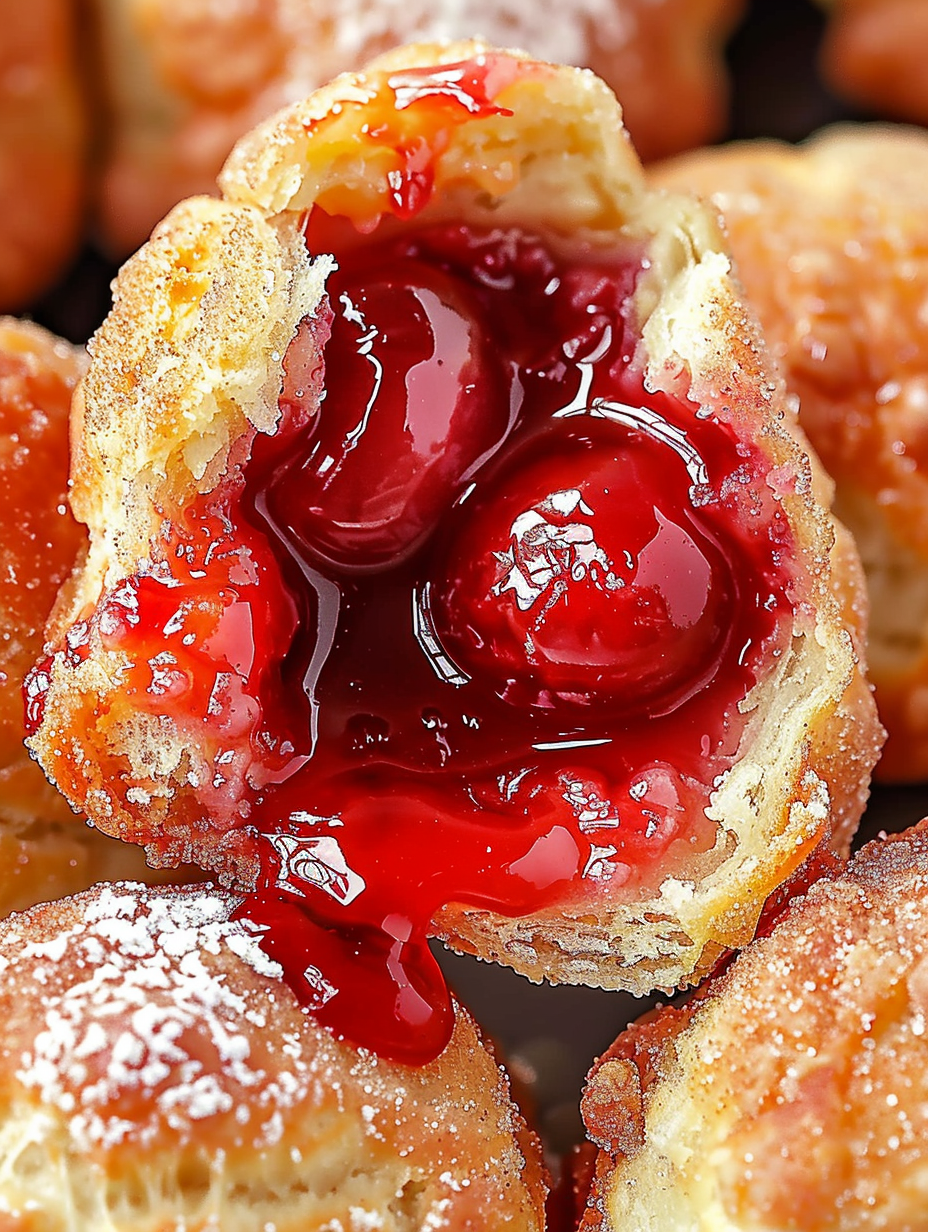
This recipe for Cherry Pie Bombs is my go-to sweet handheld for spring and summer gatherings. I first discovered the concept when I wanted a portable, nostalgic dessert that combined the gooey warmth of cherry pie with something quick to make. These little pockets of cherry filling wrapped in biscuit dough are exactly that: warm, slightly tart fruit encased in soft, pillowy dough with a crisp, cinnamon-sugar exterior. They bake and air fry beautifully, making them ideal whether you want a fast party tray or a leisurely weekend treat.
I remember the first time I brought these to a backyard party; neighbors asked for the recipe before the platter was empty. The texture contrast — the yielding interior cherry jam and the crunchy-sweet coating — is the star. Using canned biscuits keeps the prep time short, while the homemade cherry filling option adds control over sweetness and texture. Serve them warm so the filling is fluid and glossy; they’re best enjoyed fresh from the fryer or oven when the aroma of butter and cinnamon fills the kitchen.
Why You'll Love This Recipe
- Ready in under 20 minutes from start to finish when using store-bought biscuit dough — perfect for last-minute parties and potlucks.
- Uses pantry staples and one can of biscuits or homemade dough; the cherry filling can be canned or made fresh, so you can adapt to what’s on hand.
- Air fryer method yields a crisp exterior without deep frying, while oven instructions let you make a larger batch for a crowd.
- Each bite is a mix of warm, juicy cherry and buttery dough finished in a crunchy cinnamon-sugar coating — an irresistible texture combination.
- Make-ahead filing option: prepare the cherry filling a day ahead and refrigerate to save time; these also freeze well before frying or baking for later use.
When I test new desserts, my partner is the toughest critic, and these scored full marks. He loved that they were hand-held and didn't need forks, while my sister appreciated the short ingredient list that still produced a bakery-style result. Recently I swapped to fresh bing cherries with a splash of lemon juice and was surprised by how bright and complex the filling tasted — a simple switch that elevated the whole tray.
Ingredients
- Grand biscuits (1 can, 8-count): I use a standard 8-count can of refrigerated biscuits (not flaky layers or crescent dough). Each biscuit yields two rounds once separated into layers; look for the classic baking biscuit brand in the refrigerated aisle.
- Cherry pie filling (1 cup): One cup of canned cherry pie filling is convenient and perfectly sweet. For more control, make the homemade filling below using fresh or frozen cherries and cornstarch to thicken.
- Unsalted butter (1/2 cup / 1 stick), melted: Melted butter gives the outside a rich, golden finish and helps the cinnamon-sugar stick. Use unsalted to control sodium.
- Cinnamon-sugar blend (1/2 cup): Mix 1/2 cup granulated sugar with 1 to 2 teaspoons ground cinnamon, depending on preference. This creates a classic crunchy coating that contrasts the soft interior.
- Optional flavors: A teaspoon of lemon juice in the filling brightens sweet cherries; a pinch of vanilla in the butter adds depth. For best results, chill the filling slightly so it’s thick enough to spoon but still malleable.
Instructions
Separate and roll the dough:Open the biscuit can and separate the biscuits into two thin layers on a clean surface so you have 16 circles. Using your hands or a rolling pin, gently press each layer into a roughly 4-inch diameter circle — aim for even thickness so they cook uniformly. If the dough is cold and resistant, let it rest at room temperature for 5 minutes to relax the gluten.Fill and seal:Place about 1 tablespoon of cherry pie filling in the center of each circle. Pull the dough edges up and pinch firmly to seal the filling inside, making sure there are no gaps. Roll each sealed pocket between your palms into a smooth ball; a tight seal prevents leaking when cooking.Brush and coat:Brush each ball liberally with the melted unsalted butter so the entire surface is coated. Roll immediately in the cinnamon-sugar blend until evenly covered. The butter helps the sugar adhere and creates a caramelized crust during cooking.Air fryer method:Preheat the air fryer to 330°F. Lightly spray the basket or racks to prevent sticking. Arrange the bombs in a single layer, spacing about 2 inches apart to allow expansion. Air-fry for about 6 to 7 minutes, then gently wiggle each to check for browning and to loosen. Continue for another 1 to 2 minutes until crispy brown and cooked through. Serve warm — the filling will be hot and gooey.Oven method:Preheat the oven to 375°F and line a baking sheet with parchment paper. Place the bombs about 2 inches apart on the sheet. Bake for 12 to 15 minutes, rotating halfway if your oven runs hot, until golden brown and the exterior is crisp. Allow to cool briefly so the filling sets enough to hold its shape, then serve.Homemade cherry filling (if making):Combine 1/2 cup granulated sugar and 2 cups pitted cherries (fresh or thawed frozen) in a small saucepan with 1 tablespoon lemon juice and a pinch of cinnamon if desired. Heat on medium-low until cherries soften and release juices, about 10 to 12 minutes. Mix 3 tablespoons cornstarch with 4 tablespoons warm water to make a slurry, stir into cherries, and simmer 2 to 3 minutes until thickened. Cool to room temperature before spooning into dough circles.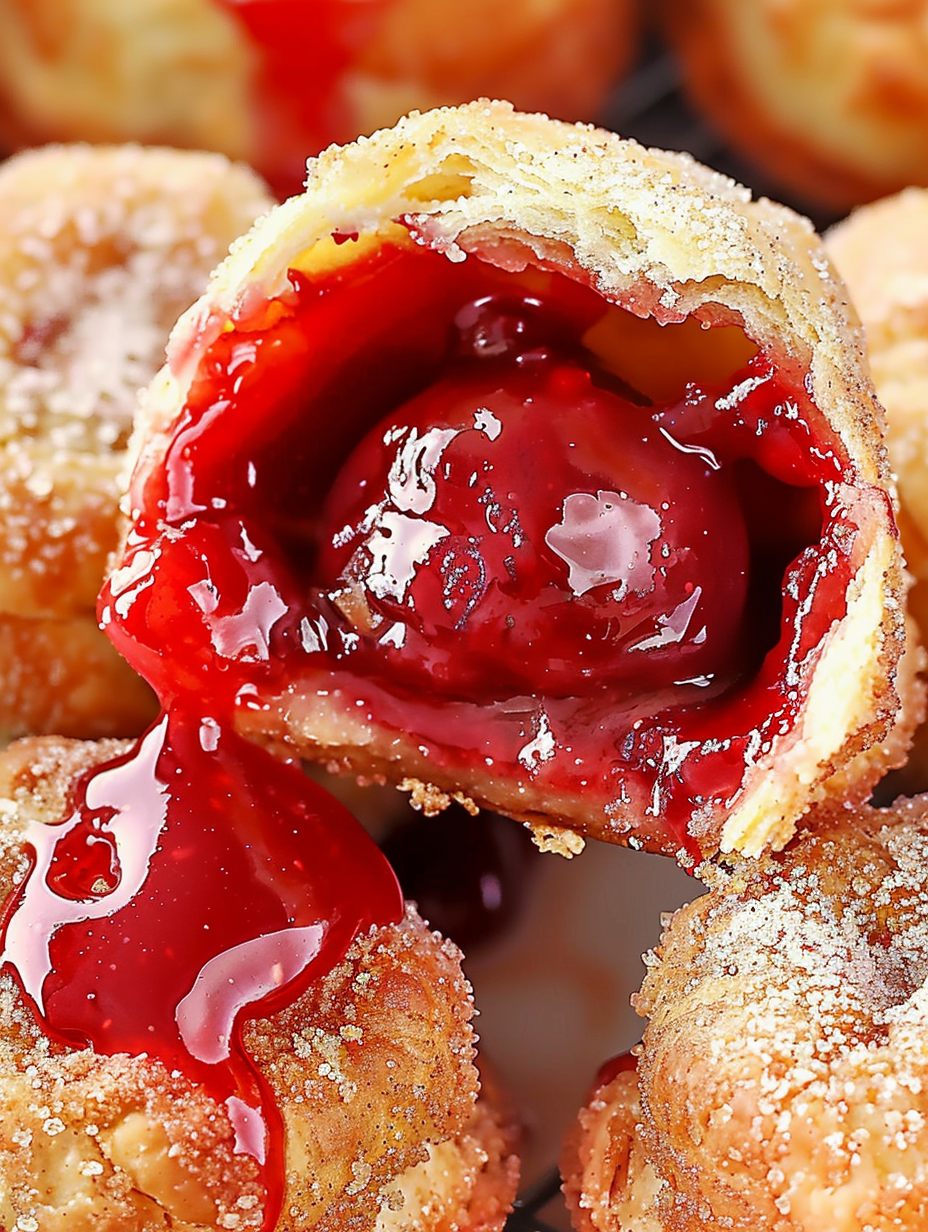
You Must Know
- These keep well refrigerated for up to 3 days; reheat in the air fryer at 300°F for 3 to 4 minutes for crisp exteriors.
- Freeze unbaked bombs on a tray, then transfer to a sealed bag for up to 3 months; bake or air-fry from frozen, adding a few minutes to cook time.
- Each portion is high in simple carbs and fat because of the biscuit dough and sugar coating; serve as an occasional indulgence.
- If using very juicy cherries, adjust cornstarch slightly (3 to 4 tablespoons) to reach a spoonable but not runny filling consistency.
My favorite aspect of these is their portability — they travel well to picnics and community gatherings. During a summer block party, I made a double batch and watched neighbors compare notes: some wanted extra cinnamon, others asked for a lemon-kissed filling. That variety of reactions is what makes this treat such a hit; it’s flexible and forgiving, so you can tweak sugar and spice to match your crowd.
Storage Tips
Store cooled bombs in an airtight container in the refrigerator for up to 3 days. To preserve the crisp exterior, place a sheet of parchment between layers so sugar coating doesn't stick. For longer storage, freeze unbaked bombs on a tray until firm, then transfer to a freezer bag for up to 3 months. Reheat frozen or refrigerated bombs in an air fryer at 300°F for 3 to 5 minutes to restore crispness; avoid microwaving, which will make the outer coating soggy and overly soft.
Ingredient Substitutions
If you want a slightly healthier swap, use whole-wheat biscuit dough but expect a denser texture and nuttier flavor. For dairy-free bombs, replace butter with coconut oil or a vegan butter alternative; the coconut oil will add a faint coconut note. Swap cherry pie filling for other fruit fillings like blueberry, apple, or peach — just adjust cornstarch to match fruit juiciness. If you prefer less sugar, cut the coating sugar by one-third and add a light dusting of powdered sugar after baking for a more delicate sweetness.
Serving Suggestions
Serve warm on a platter with small ramekins of vanilla ice cream or whipped cream for dipping. Garnish with fresh mint or a light drizzle of warmed jam for color and shine. These are fantastic at brunch alongside coffee, or as a handheld dessert at BBQs. For a party-ready display, arrange bombs on a tiered stand and provide small tongs to keep them tidy.
Cultural Background
Handheld fruit-filled dough has long been part of American picnic culture — think turnovers and fried pies sold at fairs. These mini bombs are a modern, snackable take on that tradition, inspired by the convenience of canned biscuits and the homey nostalgia of cherry pie. Variations of filled dough can be found globally, from Eastern European kolaches to Latin American empanadas, each reflecting local fruit and spice preferences.
Seasonal Adaptations
In summer, use fresh sweet cherries and a splash of lemon to brighten the filling. In fall, swap cherries for spiced apple filling and add pumpkin pie spice to the coating. For winter celebrations, try a cranberry-orange filling with a pinch of allspice. The exterior coating can be customized too: swap cinnamon sugar for crushed graham cracker crumbs or finely chopped nuts for extra texture.
Meal Prep Tips
Prepare the cherry filling a day ahead and refrigerate; it will thicken and be easier to spoon. Seal and freeze unbaked bombs for quick future desserts — bake or air-fry straight from frozen with a slightly longer cook time. Pack cooled bombs in individual portions for lunches or picnics using parchment-wrapped stacks to avoid sticking. Label frozen batches with dates and filling type for easy rotation.
These mini cherry delights are designed to be shared, customized, and enjoyed hot out of the fryer or oven. Make them your own by experimenting with fillings and coatings, and don’t be afraid to double the batch when you know guests are coming — they disappear fast.
Pro Tips
Brush with melted unsalted butter immediately before coating so the cinnamon sugar sticks evenly and caramelizes while cooking.
Chill homemade cherry filling to room temperature before filling the dough so it won’t leak during cooking.
Leave at least 2 inches between bombs in the air fryer to allow even airflow and uniform browning.
Test one bomb first to check cook time in your air fryer model; sizes and wattage vary between units.
This nourishing cherry pie bombs recipe is sure to be a staple in your kitchen. Enjoy every moist, high protein slice — it is perfect for breakfast or as a wholesome snack any time.
FAQs about Recipes
Can I bake these instead of air frying?
Yes — you can bake them in the oven at 375°F for 12–15 minutes until golden brown; air frying just speeds up the process and gives extra crispness.
Can I freeze them?
Freeze unbaked bombs on a tray, then transfer to a sealed bag for up to 3 months. Bake or air-fry from frozen, adding a few extra minutes to cook time.
Tags
Cherry Pie Bombs
This Cherry Pie Bombs recipe makes perfectly juicy, tender, and flavorful steak every time! Serve with potatoes and a side salad for an unforgettable dinner in under 30 minutes.
Ingredients
Main
Coating
Homemade Cherry Filling
Instructions
Prepare the dough
Open the biscuit can and separate into two thin layers, giving you 16 circles. Roll or press each circle to about 4 inches diameter. If dough resists, let it sit 5 minutes at room temperature.
Fill and seal
Spoon about 1 tablespoon of cherry filling into the center of each circle. Pull edges up and pinch tightly to seal. Roll into smooth balls so filling is enclosed.
Butter and coat
Brush each sealed ball with melted unsalted butter and roll in the cinnamon-sugar mixture until evenly coated. Do this immediately so the coating adheres.
Air fry
Preheat air fryer to 330°F. Lightly spray basket. Place bombs in a single layer about 2 inches apart. Air-fry 6–7 minutes, loosen, then air-fry 1–2 minutes more until golden and crisp.
Oven bake (alternative)
Preheat oven to 375°F and line a baking sheet with parchment. Place bombs 2 inches apart and bake 12–15 minutes until golden brown. Allow to cool briefly before serving.
Make homemade filling (optional)
Combine cherries and sugar over medium-low heat and cook 10–12 minutes. Mix cornstarch with warm water, stir into cherries, simmer 2–3 minutes until thickened, then cool to room temperature before using.
Last Step: Please leave a rating and comment letting us know how you liked this recipe! This helps our business to thrive and continue providing free, high-quality recipes for you.
Nutrition
Did You Make This?
Leave a comment & rating below or tag
@velvetyum on social media!
Categories:
You might also like...

Cheesy Zucchini Rollatini
Tender grilled zucchini rolled with a basil-kissed ricotta filling, nestled in marinara, and baked until the mozzarella bubbles and turns golden.

Crispy Zucchini and Squash
Golden, garlicky rounds with a deep-fried crunch made lighter in the air fryer. A fast, vitamin-packed side everyone devours.

Chicken Parmesan Meatballs
Tender chicken meatballs simmered in marinara, finished with melted mozzarella and basil for cozy, weeknight Italian comfort in every bite.
Did You Make This?
Leave a comment & rating below or tag @velvetyum on social media!
Rate This Recipe
Share This Recipe
Enjoyed this recipe? Share it with friends and family, and don't forget to leave a review!
Comments (1)
This recipe looks amazing! Can't wait to try it.
Comments are stored locally in your browser. Server comments are displayed alongside your local comments.

Hi, I'm Emma!
What's Popular

30-Minute Meals!
Join to receive our email series which contains a round-up of some of our quick and easy family favorite recipes.