
>>

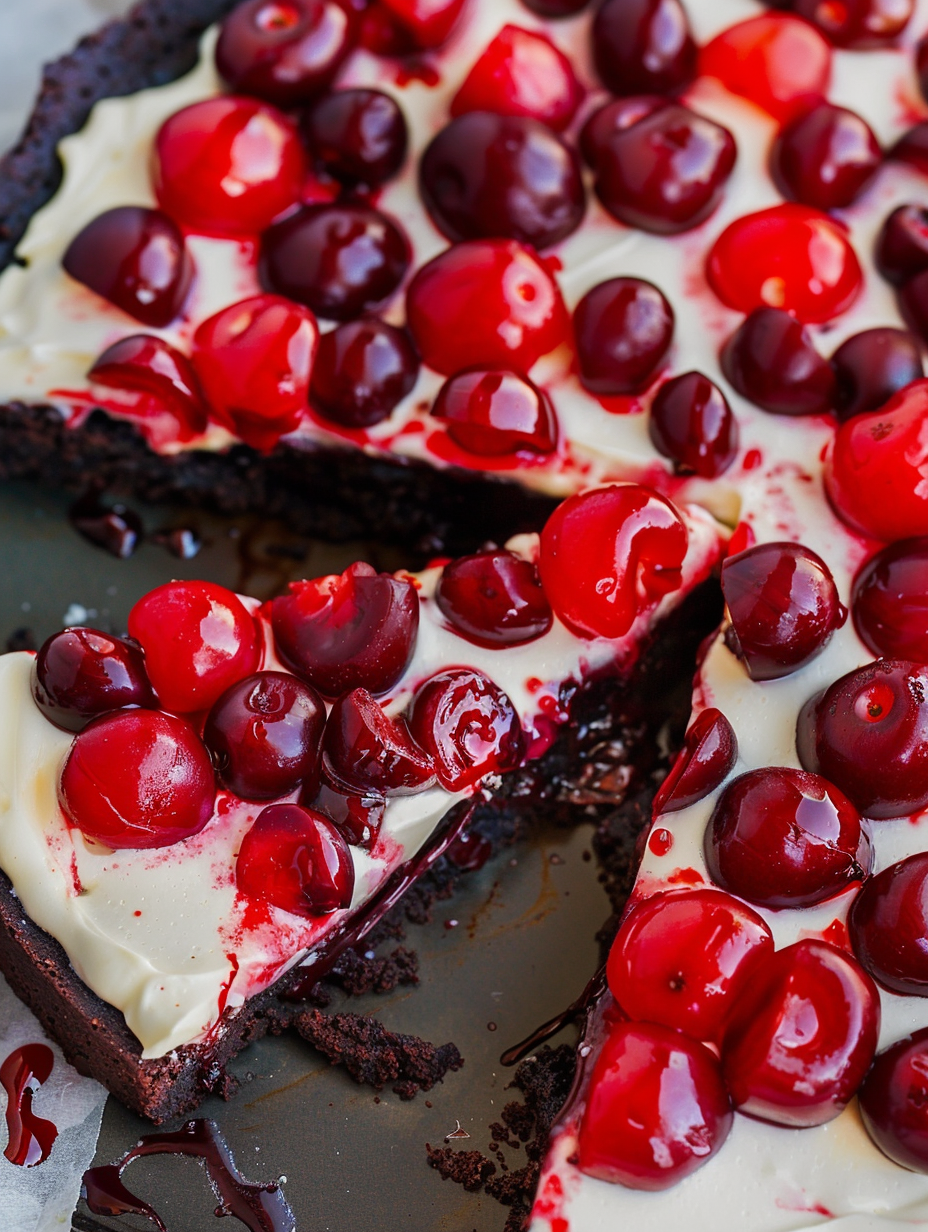
A crowd-pleasing dessert pizza layering fudgy brownie, silky cream cheese, and bright cherry pie filling—perfect for parties and potlucks.
My family’s reaction the first time I served this was priceless: silence at the table while everyone tasted, followed by an immediate round of compliments and a request to save a slice for later. It’s the kind of dessert that evokes nostalgia while still feeling modern and party-ready.
My favorite part is the way the cream layer bridges the intense chocolate and the bright cherries—it's a simple trick that transforms the dessert from "sweet" to "memorable." Friends often comment that the flavors taste like a deluxe, grown-up version of a childhood treat.
Store the dessert pizza in an airtight container in the refrigerator for up to 4 days. If you plan to keep it longer, freeze individual slices or the whole pizza wrapped tightly in plastic wrap and foil for up to 3 months. To reheat, allow frozen portions to thaw overnight in the fridge, then bring to room temperature for 10–15 minutes; warm gently at 300 degrees F for 5–7 minutes if you prefer a softer cream layer. Use glass or plastic containers with tight lids to prevent odor transfer, and avoid high humidity storage which can make the crust soggy.
If you need to adapt the recipe, there are several straightforward swaps. For a nutty depth, replace 2 tablespoons of flour with 2 tablespoons finely ground almond flour (note: this will not be gluten-free unless you replace all flour with a certified gluten-free blend). For a dairy-free version, use a dairy-free cream cheese and vegan butter, and choose a vegan pie filling—results are slightly different in texture but still delicious. Swap cherry pie filling for raspberry or blueberry pie filling for seasonal variation; if using fresh cherries, simmer with 2 tablespoons sugar and 1 teaspoon lemon juice until syrupy before spooning over the cream layer.
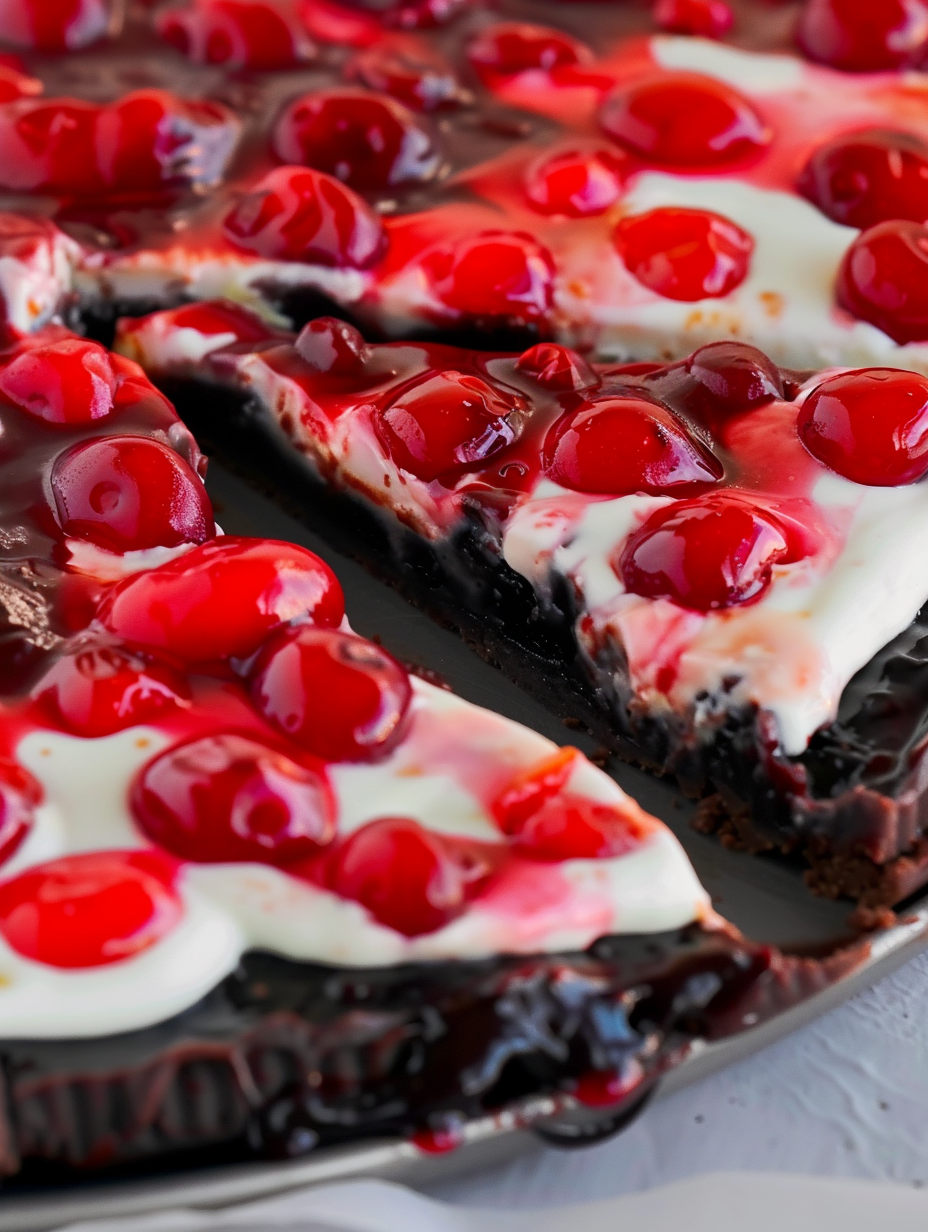
Serve wedges on a platter with a dusting of powdered sugar or a drizzle of melted dark chocolate for a polished look. Pair with lightly whipped cream or vanilla ice cream to balance the tart cherries. This dessert is perfect for holiday dessert tables, summer potlucks, or a birthday where you want something shareable and different from a traditional cake. Garnish with a few fresh cherries or mint leaves for color contrast.
The idea of layering brownies with cheesecake and fruit is a modern American adaptation of classic bar desserts and pies. Combining a dense chocolate base with a creamy layer echoes twin classics—brownies and cheesecake—while adding canned pie filling channels the convenience of 20th-century home baking. The dessert pizza format borrows from the convivial, shareable nature of pizza but translates it into a sweet centerpiece often seen at casual gatherings and potlucks.
In summer, substitute cherry pie filling with fresh macerated cherries or mixed berries for brightness. For winter holidays, stir in 1/2 teaspoon cinnamon to the cream layer and top with spiced cranberry compote. Swap in salted butter and a toasted pecan crumble on the cream layer for a fall twist. These small changes keep the dessert relevant year-round.
Make the brownie base a day ahead and keep it wrapped in parchment in the refrigerator. Prepare the cream layer the morning of serving and assemble a few hours before guests arrive so flavors meld and the dessert firms up in the fridge. Use a rimmed pizza pan and an offset spatula to make evening prep quick and slicing clean. Pack slices in single-serve containers for easy transport to potlucks.
Every time I bring this to a gathering someone asks where I bought it—it's a compliment I never tire of. Give it a try, make it your own with swaps that suit your pantry, and enjoy how quickly it becomes a new favorite.
Bring eggs and cream cheese to room temperature before mixing for smoother incorporation and even texture.
Avoid overbaking the brownie base—remove when a toothpick shows moist crumbs to keep a fudgy interior.
Chill the assembled pizza at least 30 minutes before slicing to achieve clean wedges; let sit 10–15 minutes at room temperature for best mouthfeel.
This nourishing chocolate cherry brownie dessert pizza recipe is sure to be a staple in your kitchen. Enjoy every moist, high protein slice — it is perfect for breakfast or as a wholesome snack any time.
Yes. Refrigerate in an airtight container for up to 4 days. Bring to room temperature 10–15 minutes before serving.
Wrap slices tightly and freeze up to 3 months. Thaw overnight in the fridge before serving.
This Chocolate Cherry Brownie Dessert Pizza recipe makes perfectly juicy, tender, and flavorful steak every time! Serve with potatoes and a side salad for an unforgettable dinner in under 30 minutes.
Preheat oven to 350 degrees F. Grease a 12-inch rimmed pizza pan with nonstick spray or butter; set aside.
In a microwave-safe bowl, melt the butter and let cool slightly. Add sugar, eggs, and vanilla; whisk until glossy and combined.
Stir in cocoa powder, flour, salt, and baking powder. Mix about 50 strokes until incorporated—do not overmix to maintain fudgy texture.
Spread batter evenly on the prepared pan and bake 25–30 minutes until set with moist crumbs on a toothpick. Cool on a rack.
Beat softened cream cheese with powdered sugar for about 2 minutes until smooth and spreadable. Adjust with 1 teaspoon milk if too stiff.
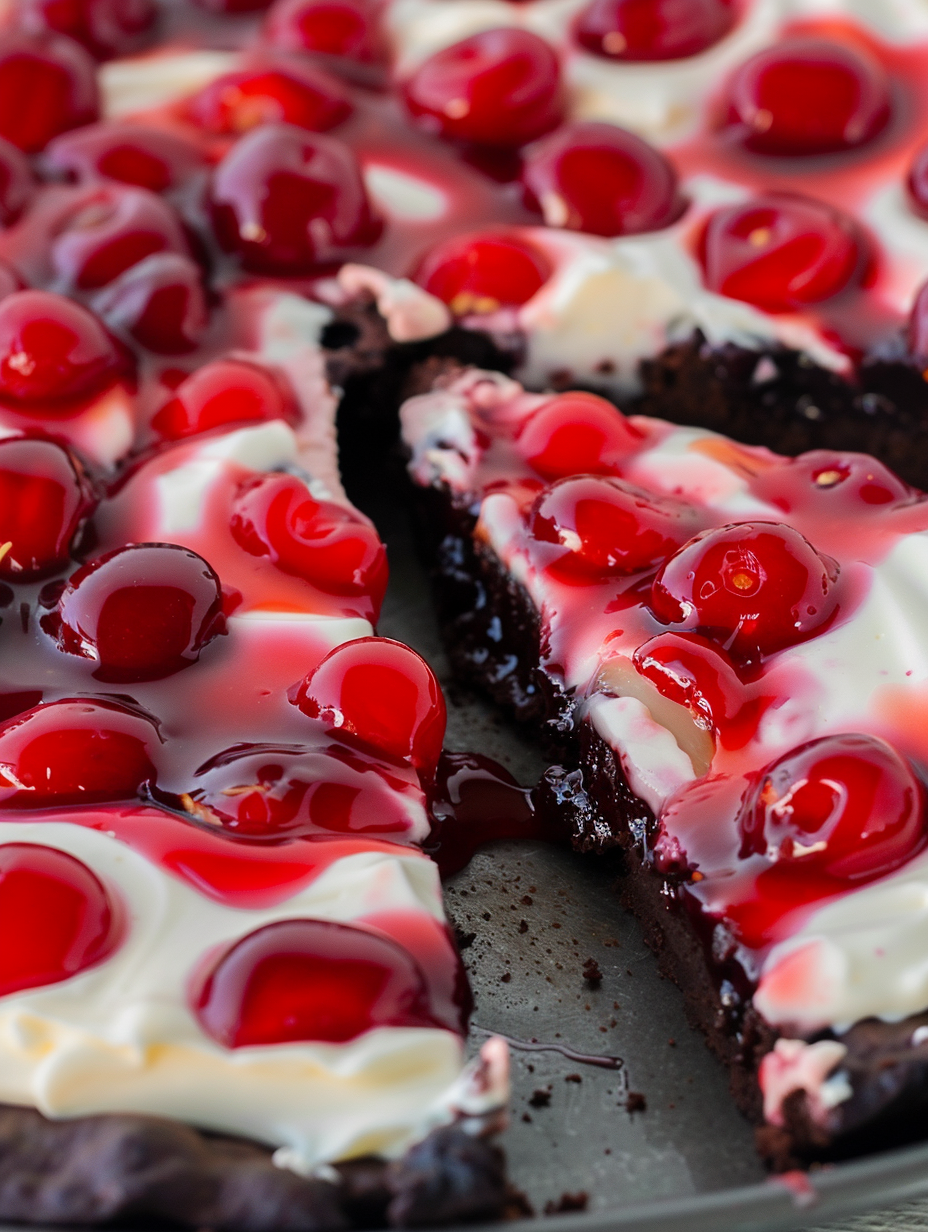
Spread the cream layer over the cooled brownie base, spoon cherry pie filling on top, and refrigerate at least 30 minutes. Let sit 10–15 minutes at room temperature before slicing into 12 wedges.
Last Step: Please leave a rating and comment letting us know how you liked this recipe! This helps our business to thrive and continue providing free, high-quality recipes for you.
Leave a comment & rating below or tag
@velvetyum on social media!

Tender grilled zucchini rolled with a basil-kissed ricotta filling, nestled in marinara, and baked until the mozzarella bubbles and turns golden.

Golden, garlicky rounds with a deep-fried crunch made lighter in the air fryer. A fast, vitamin-packed side everyone devours.

Tender chicken meatballs simmered in marinara, finished with melted mozzarella and basil for cozy, weeknight Italian comfort in every bite.
Leave a comment & rating below or tag @velvetyum on social media!
Enjoyed this recipe? Share it with friends and family, and don't forget to leave a review!
This recipe looks amazing! Can't wait to try it.
Comments are stored locally in your browser. Server comments are displayed alongside your local comments.

Join to receive our email series which contains a round-up of some of our quick and easy family favorite recipes.
