
>>

Soft, fudgy chocolate cookies with a distinctive crackle top, rolled in powdered sugar — a holiday platter essential that's quick, fuss-free, and irresistibly chocolatey.
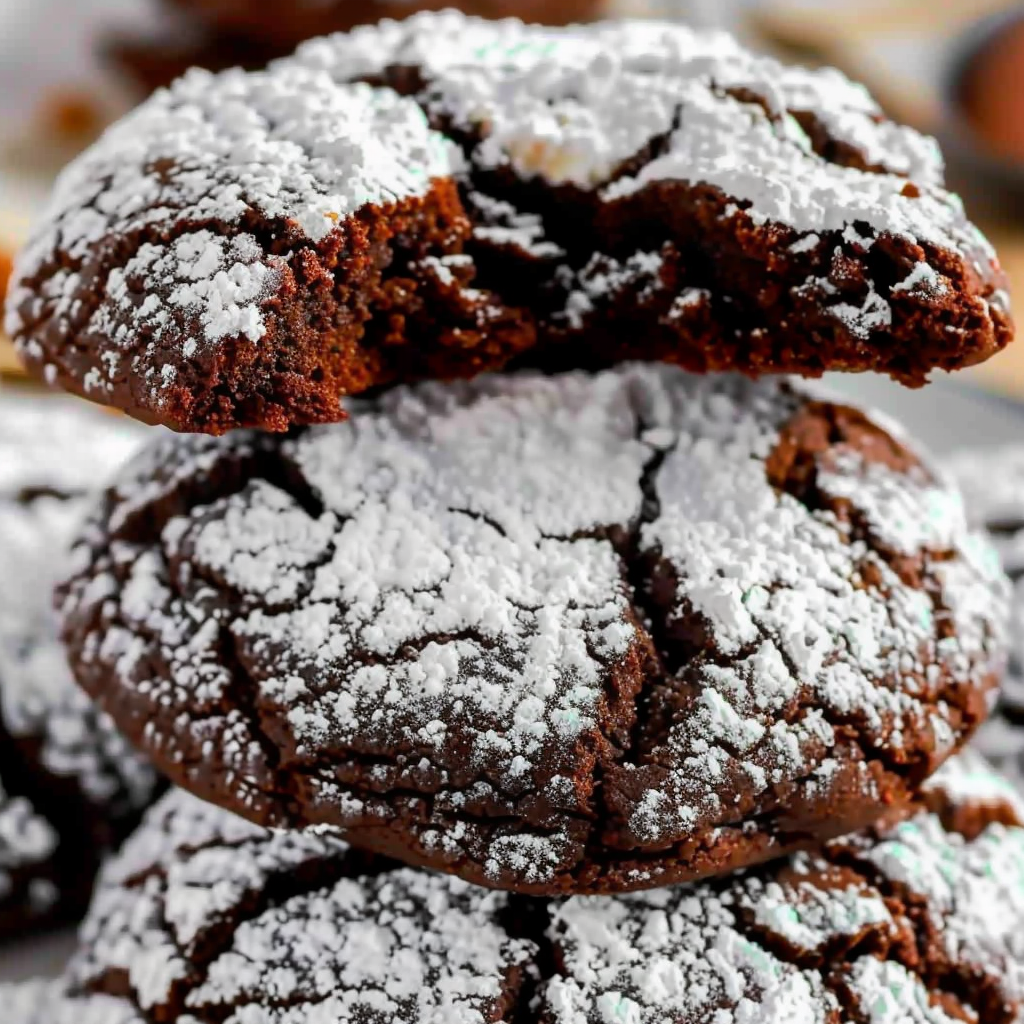
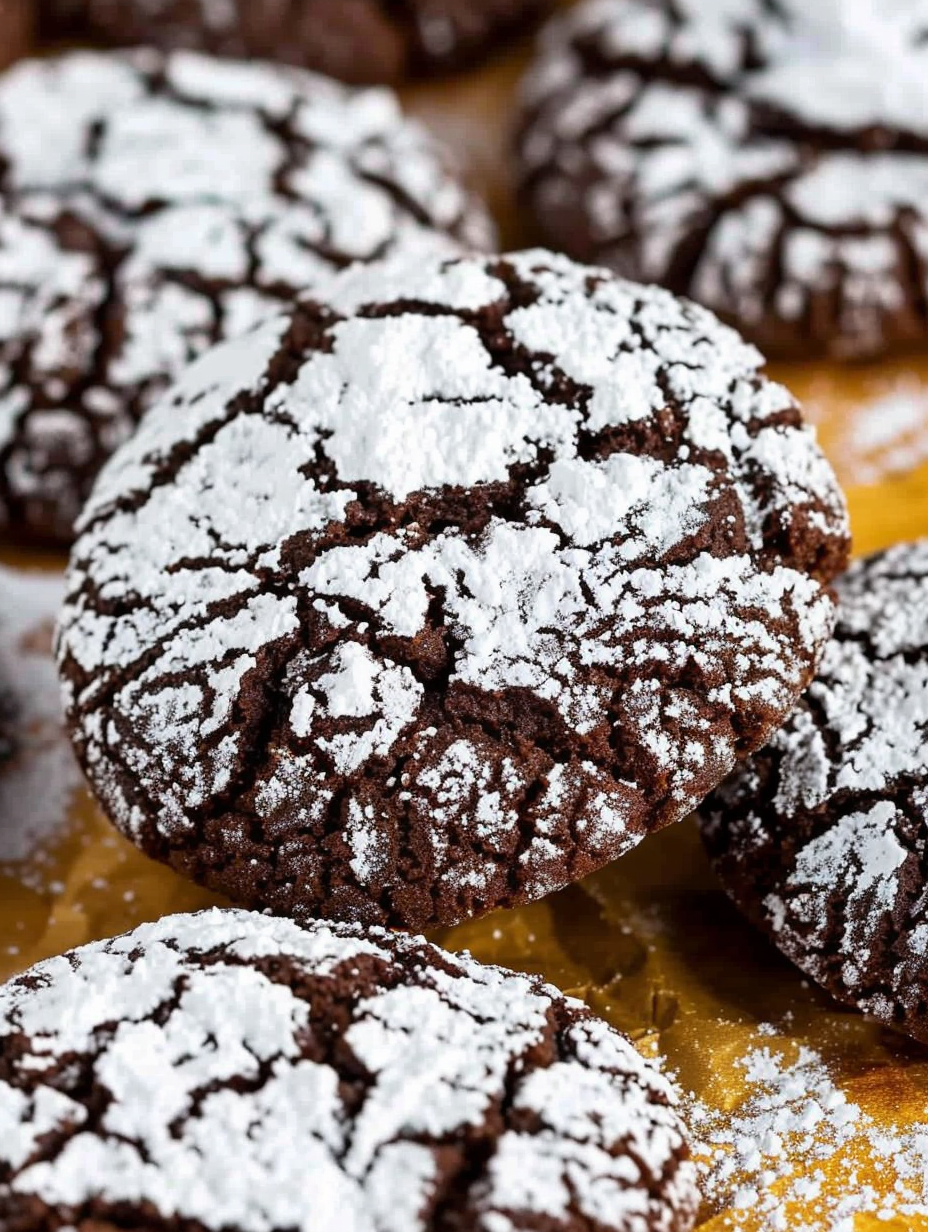
Chocolate crinkle cookies have been a holiday staple in my kitchen for as long as I can remember. I first encountered this version during a chilly December when I wanted a no-fuss, crowd-pleasing treat that would travel well to potlucks and family gatherings. The moment these come out of the oven — glossy tops split to reveal a tender, fudgy interior with a festive powdered sugar crackle — everyone gravitates toward the cookie sheet. They are simple, comforting, and reliably addictive.
I love these because they balance intense chocolate flavor with a soft center and a delicate sugar-dusted exterior. The dough is unusually wet at first, which gives the finished cookie a fudge-like chew rather than a cakey crumb. Chilling the dough is the small step that transforms a loose batter into a manageable, rollable dough, and it’s the key to the dramatic crackled surface. I often make a double batch for holiday cookie exchanges and keep a tin in the freezer — they thaw and crisp perfectly, reminding me of cozy evenings spent with family and Christmas music in the background.
In my household the biggest compliment is when my picky niece asks for seconds. I discovered a few small tricks — like chilling the dough and using a one tablespoon scoop — that guarantee consistent size, even baking, and the classic crackled top that everyone expects from this treat.

My favorite part is how reliably these turn out when the steps are followed; the crackled sugar top is dramatic and festive, and guests always comment on the fudgy center. They’re one of those treats that travel well and save perfectly in the freezer when you want to spread holiday baking across a few weekends.
Once completely cool, arrange cookies in a single layer or with parchment layers between rows in an airtight container. At room temperature they keep well for up to four days; for longer storage, freeze in zipper bags or shallow containers for up to three months. To reheat frozen cookies, let them thaw at room temperature for 30 minutes, then warm in a 300 degree Fahrenheit oven for 5 minutes to revive a just-baked texture. Avoid refrigeration which can dry them out.
If you need to swap ingredients, use canola or light olive oil in place of vegetable oil without changing texture. For a deeper chocolate profile, use dark brown sugar or add one teaspoon instant espresso powder dissolved in a tablespoon of hot water. To make gluten-free, substitute a 1-to-1 gluten-free flour blend that contains xanthan gum and weigh for accuracy. Note that alternative flours may slightly alter spreading and texture.
Serve warm with a mug of hot chocolate or coffee for an indulgent snack. These cookies make a beautiful addition to cookie platters paired with shortbread and spice cookies for contrast. For a dessert plate, add a scoop of vanilla ice cream and drizzle with warm chocolate sauce. Garnish with a few extra dustings of powdered sugar or a light sprinkle of flaky salt for a modern touch.
For winter holidays, fold in 1/2 cup chopped nuts or a handful of mini peppermint pieces for a mint-chocolate twist. In autumn, stir in a teaspoon of cinnamon and a pinch of nutmeg for warm spice notes. For Valentine’s Day, press a few red sugar sprinkles into the tops before baking or roll the finished cookies in pink-tinted powdered sugar for a festive look.
To prepare ahead, form dough balls after chilling and freeze them on a sheet tray until solid, then transfer to a bag. When you want fresh cookies, roll frozen balls in powdered sugar and bake for an extra 1 to 2 minutes. This makes last-minute entertaining effortless. Use a one tablespoon scoop for uniform cookies and consistent bake times, then label containers with baking date for rotation.
These chocolate crinkle cookies always bring a little warmth and nostalgia to the kitchen. Whether you’re making them for a crowd or keeping a tin for quiet weeknight indulgence, they’re forgiving, fast, and reliably delicious. Make them your own with subtle mix-ins, and enjoy the memories they create when shared.
Chill the dough for 30 to 45 minutes to make scooping and rolling possible and to ensure the classic crackled top.
Use a one tablespoon cookie scoop for uniform cookies and consistent bake times.
Rotate baking sheets halfway through to promote even browning and uniform crackle patterns.
If you prefer deeper chocolate flavor, use dark brown sugar or add a teaspoon of instant espresso dissolved in a tablespoon of hot water.
This nourishing chocolate crinkle cookies recipe is sure to be a staple in your kitchen. Enjoy every moist, high protein slice — it is perfect for breakfast or as a wholesome snack any time.
Chill the dough for at least 30 minutes. If the dough is still too soft after 30 minutes, refrigerate up to 45 minutes until it is firm enough to scoop and roll.
Bake for 7 to 10 minutes depending on size; 1 tablespoon cookies usually take about 8 minutes and should have split tops but still slightly soft centers.
This Chocolate Crinkle Cookies recipe makes perfectly juicy, tender, and flavorful steak every time! Serve with potatoes and a side salad for an unforgettable dinner in under 30 minutes.
Whisk together flour, cocoa powder, baking powder and salt in a medium bowl. Sifting cocoa helps remove lumps and ensures consistent color.
Using a hand mixer, combine oil, brown sugar, eggs and vanilla until glossy and smooth. Add eggs one at a time for even incorporation.
Slowly mix the dry ingredients into the wet ingredients until just combined. The dough will be very wet; avoid over-mixing to maintain a tender center.
Chill the bowl of cookie dough at least 30 to 45 minutes, or until you can scoop and roll the dough without it falling apart. Longer chilling is fine up to 24 hours.
Preheat oven to 350 degrees Fahrenheit. Line cookie sheets with parchment paper. Place powdered sugar in a small bowl. Scoop 1 tablespoon balls of dough, roll in powdered sugar, place on sheet and bake for 7 to 10 minutes depending on size.
Allow cookies to cool on a rack; centers will set as they cool. Store in an airtight container for up to 4 days or freeze for up to 3 months.
Last Step: Please leave a rating and comment letting us know how you liked this recipe! This helps our business to thrive and continue providing free, high-quality recipes for you.
Leave a comment & rating below or tag
@velvetyum on social media!

Tender grilled zucchini rolled with a basil-kissed ricotta filling, nestled in marinara, and baked until the mozzarella bubbles and turns golden.

Golden, garlicky rounds with a deep-fried crunch made lighter in the air fryer. A fast, vitamin-packed side everyone devours.

Tender chicken meatballs simmered in marinara, finished with melted mozzarella and basil for cozy, weeknight Italian comfort in every bite.
Leave a comment & rating below or tag @velvetyum on social media!
Enjoyed this recipe? Share it with friends and family, and don't forget to leave a review!
This recipe looks amazing! Can't wait to try it.
Comments are stored locally in your browser. Server comments are displayed alongside your local comments.

Join to receive our email series which contains a round-up of some of our quick and easy family favorite recipes.
