
>>

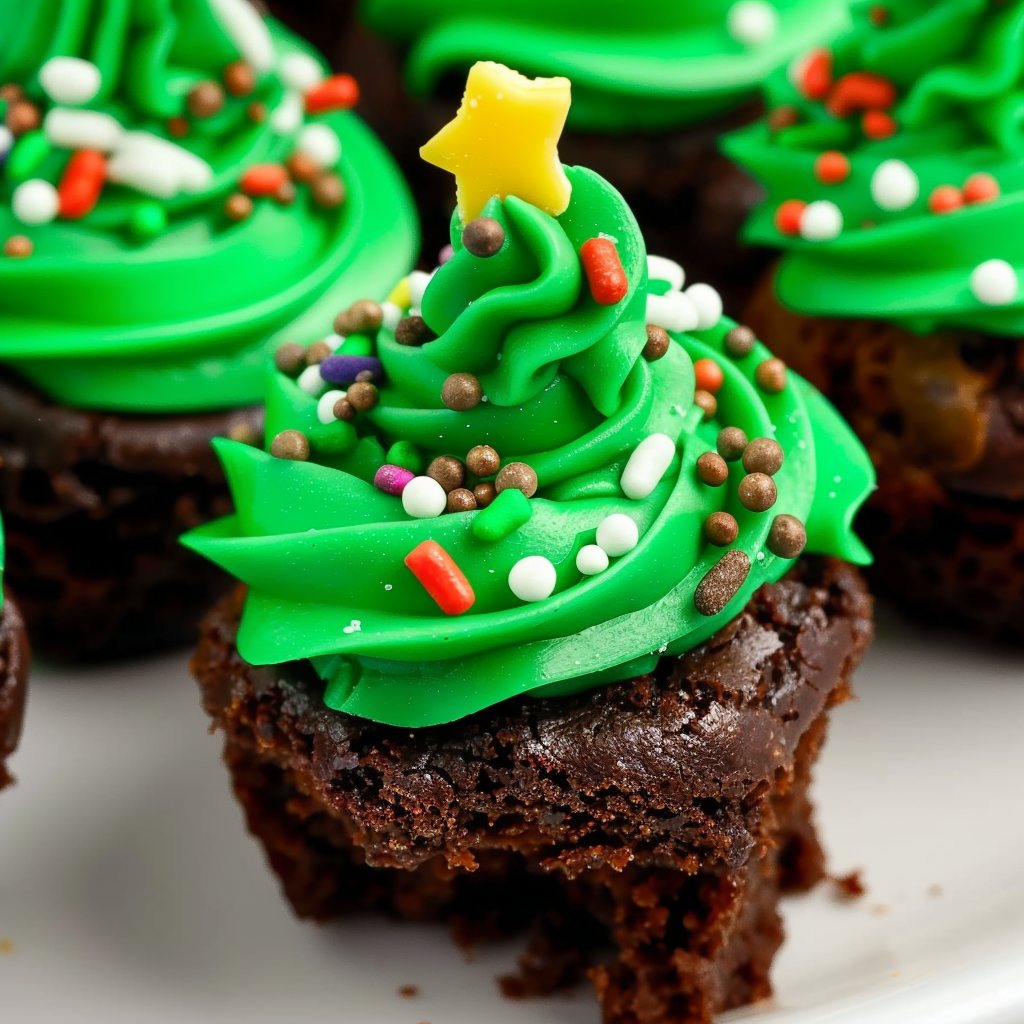
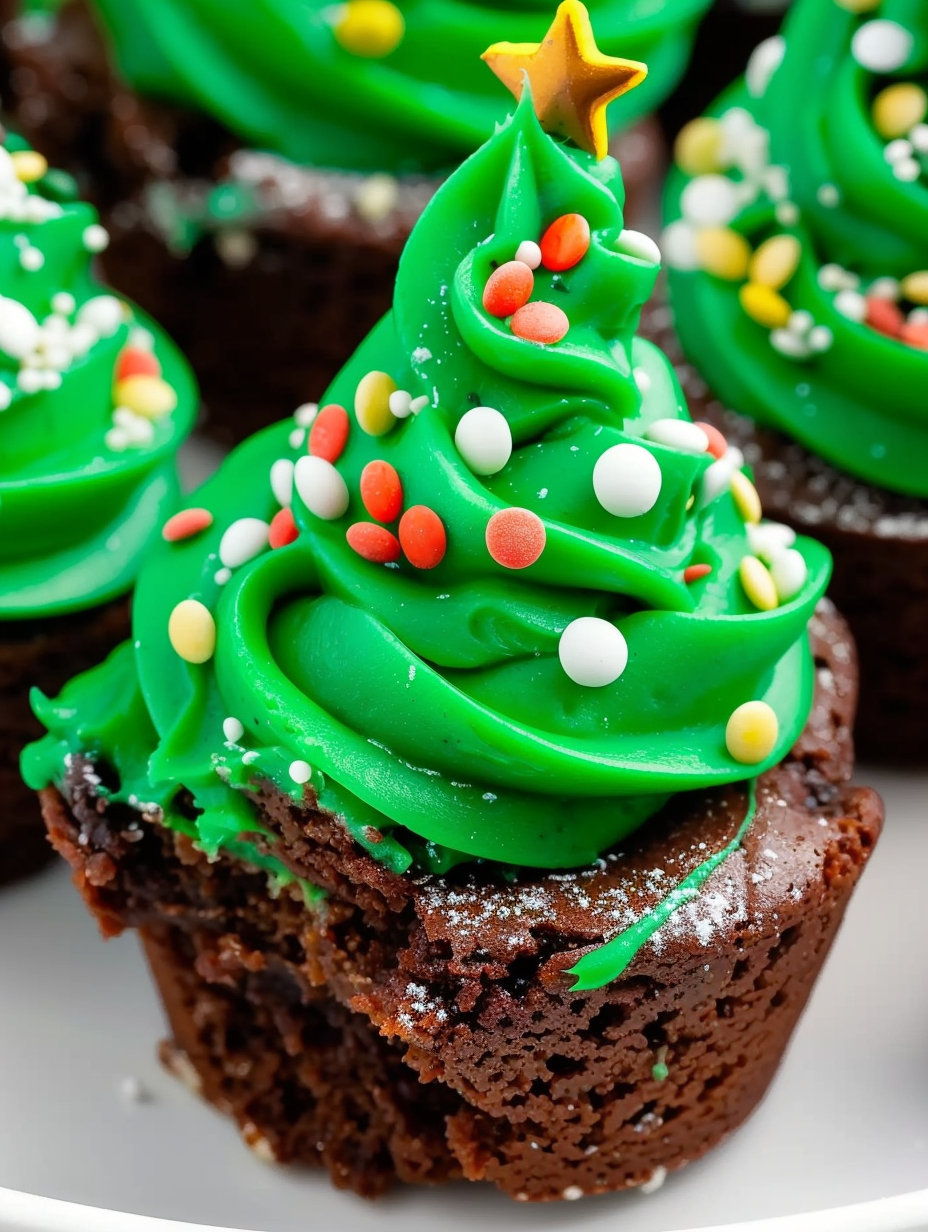
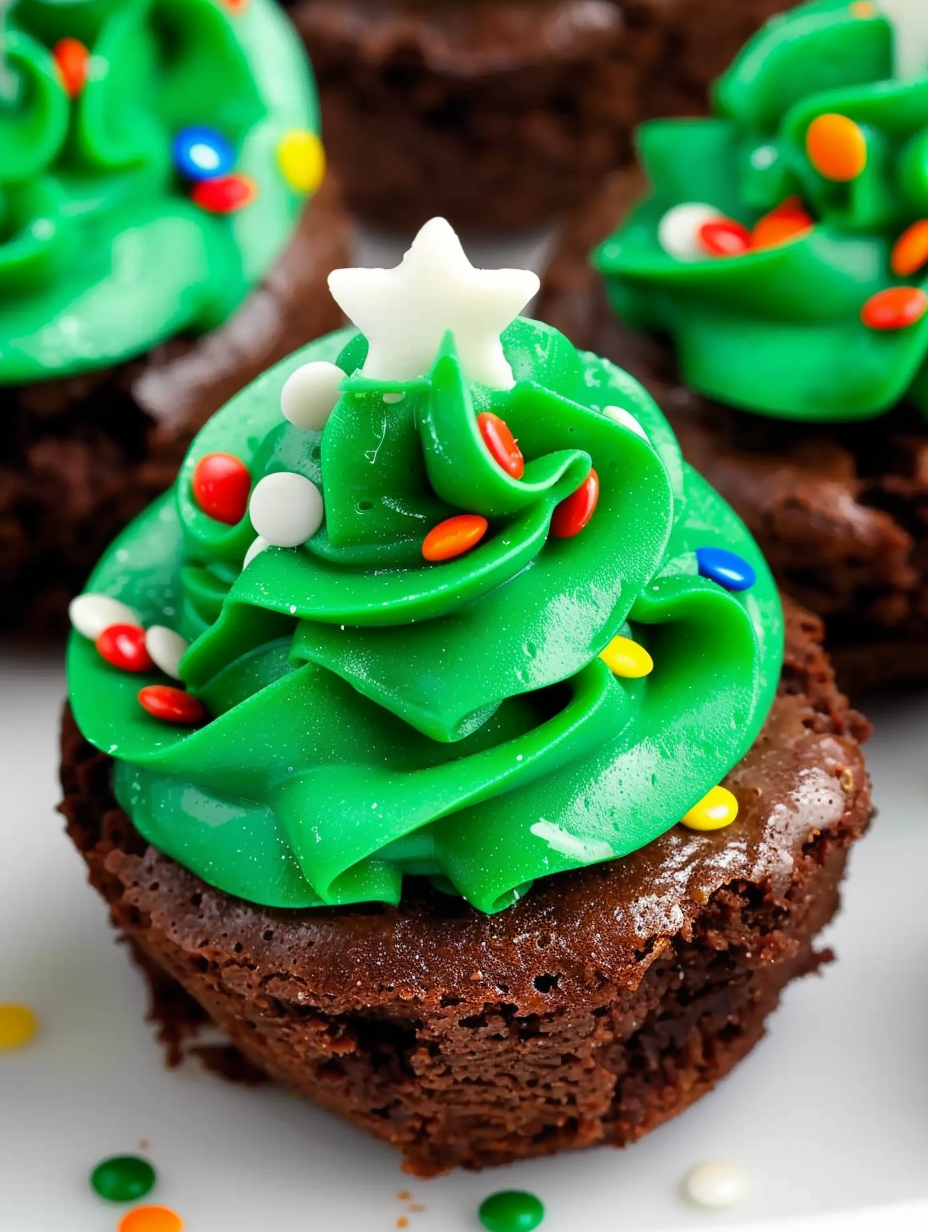
Adorable, festive brownie bites piped into mini Christmas trees with vanilla buttercream—perfect for holiday platters and last-minute gatherings.
These Christmas Tree Brownie Bites are my go-to holiday treat when I want something that looks magical but comes together quickly. I first made them the winter my neighbor brought over a tray of decorated cookies and I wanted a portable, bite-sized dessert that captured the same festive spirit. Soft, fudgy brownie bases topped with a swirl of bright green vanilla buttercream become little evergreen trees that are irresistible on a dessert board. They’re easy to make from scratch or transform instantly when you keep a box of pre-made mini brownie bites in your pantry.
What I love most is how these little bites bring people together: kids light up when they add their own sprinkles, and adults always ask for the secret about how the frosting stays so soft without sliding off. The texture contrast is the star—dense, moist brownie meeting airy, silky buttercream. I discovered the ideal piping technique while experimenting with a Wilton 1M tip and learned to pipe a steady cone with short bursts, which gives the tree a layered look that holds nonpareils like tiny lights. Over the years they’ve become a staple at our cookie exchanges, holiday potlucks, and the week I host a neighborhood cocoa night.
In my experience these always disappear first at gatherings. One year I brought them to a neighborhood cookie swap and returned with empty containers and four requests for the recipe. They’re reliably crowd-pleasing and perfect for cooks who want a festive presentation without a lot of fuss.
My favorite part is the decorating. Last Christmas my niece insisted on placing every star herself, and the pride on her face when she saw the finished tray was priceless. Over time I learned that using fewer but larger nonpareils makes the lights readable from across the table, and piping in short bursts creates a natural, leafy texture that looks professional even if you’re new to decorating.
Store these bites loosely covered in a shallow container to protect the piped frosting. At room temperature they will be fine for a few hours; refrigerate for longer storage up to 3 days. If freezing, place the un-decorated brownies on a tray to flash-freeze, then transfer to a freezer-safe container; frost after thawing to preserve bright colors and sprinkle integrity. Reheat refrigerated portions at room temperature for 20 minutes before serving so the buttercream softens and the brownie regains its chewy texture.
For a dairy-free version, use vegan butter and a dairy-free frosting base; ensure your brownie recipe is egg-free—there are reliable egg replacer mixes or applesauce options (3 tablespoons applesauce per egg) that maintain moisture. For gluten-free, choose a certified gluten-free brownie mix or substitute a 1-to-1 gluten-free flour blend, though texture may be slightly more tender. To cut sweetness, swap half the powdered sugar in the buttercream for an equal weight of sifted confectionerss alternative or add a pinch of fine sea salt to balance the flavor.
Arrange these on a platter with pine-scented garnishes like rosemary sprigs to echo the tree theme. Pair with hot cocoa, spiced cider, or a coffee bar for a cozy dessert station. Serve alongside peppermint bark or mini fruit tarts for variety. For an elegant touch at parties, place each brownie bite in a small paper liner and arrange in concentric circles so the trees create a mini forest effect.
Decorated desserts that mimic seasonal motifs have long been part of holiday celebrations across cultures. The miniature tree design echoes traditional gingerbread houses and decorated cakes, but translated into an American bite-sized treat suitable for cookie exchanges and potlucks. These playful desserts reflect the modern trend of combining nostalgic holiday shapes with convenient, sharable formats.
Swap the green for pastel colors for spring celebrations or use orange and black piping with candy eyeballs for a Halloween spin. For a Fourth of July tray, pipe blue and white rosettes and add red, white, and blue sprinkles. You can also make a winter wonderland by using white buttercream with coconut flakes for snow and silver dragées for ornaments.
Make the brownie bases up to two days ahead and store in a single layer in an airtight container. Prepare and chill the buttercream separately; re-whip briefly before piping to restore silkiness. For large gatherings, fill multiple piping bags in advance and keep them in the refrigerator; bring to room temperature and knead the bag before use to return the frosting to perfect piping consistency.
There’s something magical about a tray of these little evergreens gathered in the center of a table. They’re fast, adaptable, and always spark a smile—try making a few experimental batches with different sprinkles and invite friends to vote on their favorite design. Happy decorating and happy holidays!
Pipe using short bursts rather than one long squeeze to create realistic, layered branches.
Chill assembled bites briefly to set the buttercream if your kitchen is warm, but serve at room temperature for best texture.
Whip store-bought frosting for 1–2 minutes to lighten it before piping for a fresher texture.
Use gel coloring to avoid thinning the buttercream and to keep the green vibrant.
This nourishing christmas tree brownie bites recipe is sure to be a staple in your kitchen. Enjoy every moist, high protein slice — it is perfect for breakfast or as a wholesome snack any time.
Yes—if you freeze brownie bites without frosting they keep for up to 1 month. Thaw fully before piping frosting.
Use a Wilton 1M or similar open star tip and pipe in short bursts from the bottom up for the best tree shape.
This Christmas Tree Brownie Bites recipe makes perfectly juicy, tender, and flavorful steak every time! Serve with potatoes and a side salad for an unforgettable dinner in under 30 minutes.
If baking mini brownies, allow them to cool completely in the pan before removing to avoid crumbling and to give a firm surface for piping.
Cream butter, gradually add powdered sugar, vanilla, and milk until smooth. Add gel coloring 1 drop at a time until you reach a vibrant green, then transfer to a piping bag fitted with a Wilton 1M tip.
Hold the tip about 1/4 inch above each brownie center and pipe layered swirls from the bottom up using short bursts, tapering to a point at the top to mimic tree branches.
Press nonpareils into the buttercream as 'lights' and place a small star sprinkle on each tree tip. Chill briefly if needed to set, then serve at room temperature.
Last Step: Please leave a rating and comment letting us know how you liked this recipe! This helps our business to thrive and continue providing free, high-quality recipes for you.
Leave a comment & rating below or tag
@velvetyum on social media!

Tender grilled zucchini rolled with a basil-kissed ricotta filling, nestled in marinara, and baked until the mozzarella bubbles and turns golden.

Golden, garlicky rounds with a deep-fried crunch made lighter in the air fryer. A fast, vitamin-packed side everyone devours.

Tender chicken meatballs simmered in marinara, finished with melted mozzarella and basil for cozy, weeknight Italian comfort in every bite.
Leave a comment & rating below or tag @velvetyum on social media!
Enjoyed this recipe? Share it with friends and family, and don't forget to leave a review!
This recipe looks amazing! Can't wait to try it.
Comments are stored locally in your browser. Server comments are displayed alongside your local comments.

Join to receive our email series which contains a round-up of some of our quick and easy family favorite recipes.
