
Pumpkin Truffles

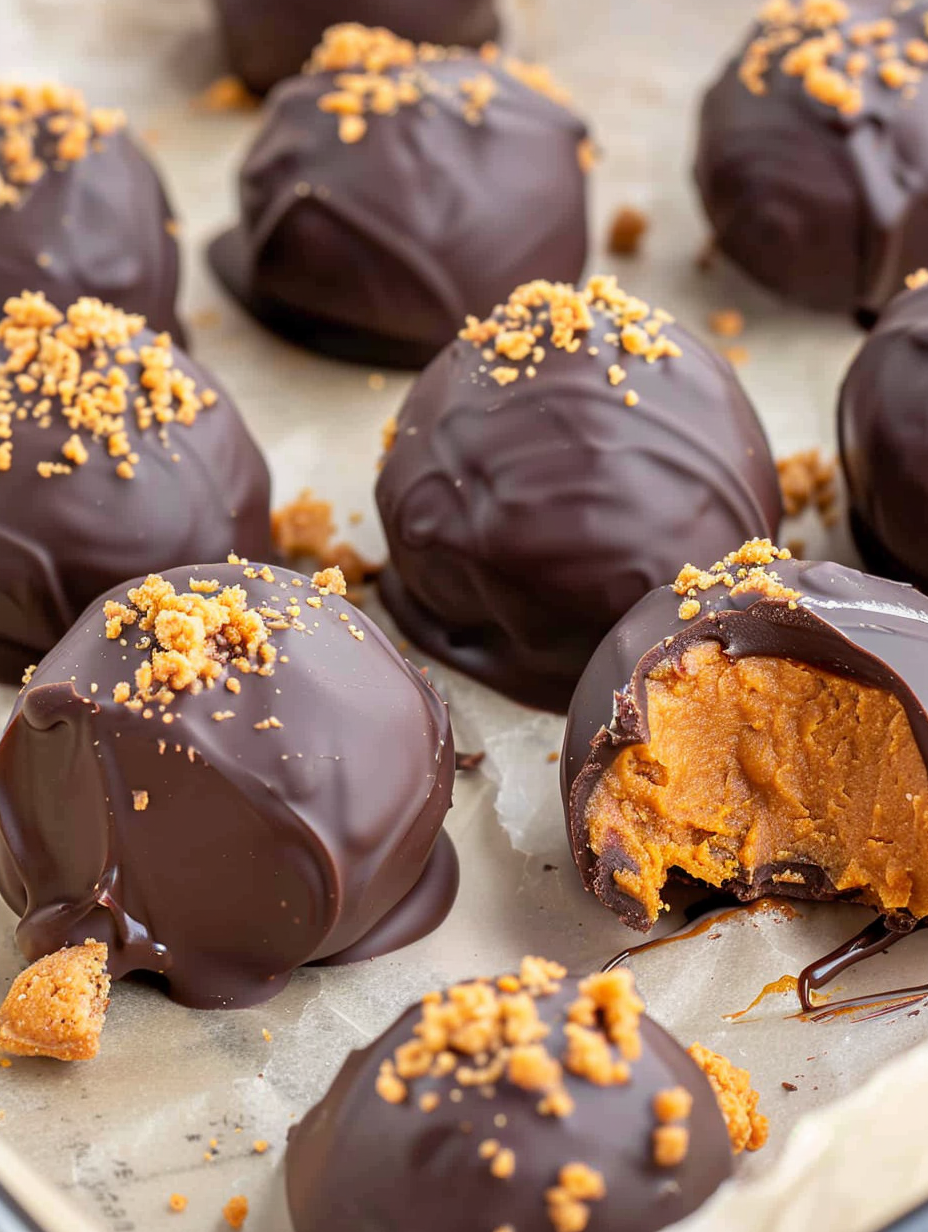
Creamy pumpkin bites rolled in graham crumbs and dipped in chocolate—easy, seasonal treats perfect for fall gatherings and weeknight indulgences.
This batch of pumpkin-flavored bites has been one of my fall obsessions ever since I first mixed a spoonful of pumpkin into a block of softened cream cheese and tasted that perfect blend of tang, spice, and sweetness. I discovered this combination on a crisp October afternoon while cleaning out the refrigerator and wanting a small, elegant treat that required no baking. The balance of creamy pumpkin, crunchy graham, warm spice, and glossy chocolate elevates a simple snack into something that feels special without any fuss.
What makes these bites notable is their texture: a velvety interior that holds together like a soft truffle, encased in a thin, crisp chocolate shell. They are comforting but refined, portable but decadent. I love preparing them before a gathering because they chill beautifully and develop a firmer, sliceable center. My family calls them the ‘instant autumn bonbons’—they disappear in minutes at parties—and I often tuck a few into lunchboxes as a seasonal surprise.
Why You'll Love This Recipe
- Ready with only about 10 minutes of active work and mostly chilling time, these bites are perfect for last-minute desserts.
- They use pantry staples—cream cheese, pumpkin puree, graham crackers, spices, and melting wafers—so you probably have everything on hand.
- Make-ahead friendly: form the centers and chill for up to 48 hours before dipping to spread out the work for entertaining.
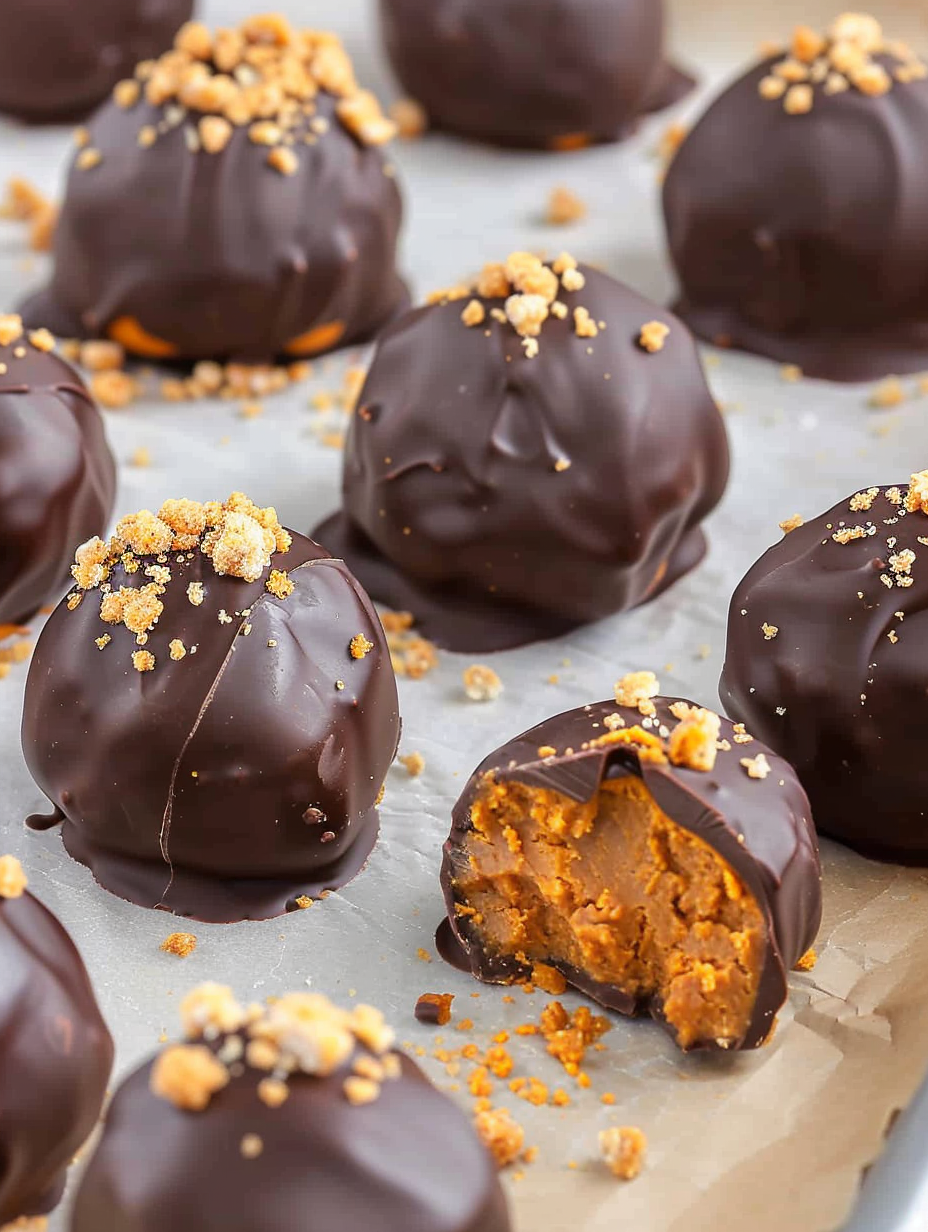
- Crowd-pleasing texture contrast: soft pumpkin center and crunchy chocolate exterior, with optional graham or toffee topping for extra bite.
- Versatile for dietary swaps—use dark or white coating, gluten-free crumbs, or dairy-free chocolate to adapt to preferences.
I first made these when I needed a small, elegant treat for a book club night and didn’t want to bake. My friends were surprised by how luxurious they tasted for so little effort. We paired them with coffee and mulled cider, and one friend asked for the recipe mid-tasting—always a good sign. Over time I’ve learned little tricks like chilling the centers well and using two forks for dipping; those small techniques make the finish cleaner and more professional-looking.
Ingredients
- Cream cheese (4 ounces): Use full-fat cream cheese for the best mouthfeel; soften at room temperature for 20–30 minutes so it blends silky smooth. I reach for Philadelphia block cream cheese when I want consistent results.
- Powdered sugar (2 tablespoons): Confectioners’ sugar sweetens without graininess and helps stabilize the centers—sift if clumpy.
- Pumpkin puree (1/3 cup): Use plain pumpkin puree, not pumpkin pie filling. Libby’s or any unsweetened canned pumpkin works well and provides consistent texture.
- Graham cracker crumbs (1 3/4 cups): Finely ground to a sandy texture so they bind with the cream cheese; about 10–11 sheets crushed in a food processor.
- Pumpkin pie spice (1 teaspoon) and cinnamon (1/2 teaspoon): Use fresh spices for the best fragrance—homemade blends or commercial mixes both work.
- Chocolate melting wafers (10-ounce bag): Milk, dark, or white wafers are all acceptable—melting wafers coat smoothly and set with a glossy finish.
- Optional toppings: Extra graham crumbs or English toffee bits give crunchy contrast and an attractive finish.
Instructions
Make the pumpkin base: Place 4 ounces softened cream cheese and 2 tablespoons powdered sugar in a bowl. Beat with a stand or hand mixer until completely smooth, about 1–2 minutes. Softening the cream cheese to room temperature ensures a lump-free base and a luxuriously smooth texture. Add pumpkin: Mix in 1/3 cup pumpkin puree at medium speed until fully incorporated and silky, about 30–45 seconds. If the mixture appears watery, pause and scrape the bowl; the powdered sugar and crumbs will firm it up once combined. Incorporate dry ingredients: Add 1 3/4 cups finely ground graham cracker crumbs, 1 teaspoon pumpkin pie spice, and 1/2 teaspoon cinnamon. Mix on medium until a thick, homogeneous dough forms, approximately 1–2 minutes. The dough should be pliable and hold shape when rolled; if overly sticky, add a tablespoon more crumbs. Chill the mixture: Transfer the dough to a small bowl, cover tightly, and refrigerate about 2 hours. Chilling firms the centers so they roll neatly and maintain shape when dipped. If short on time, a 30–45 minute chill will work but expect slightly softer centers. Form balls: Line a baking sheet with parchment paper. Using a small spoon or a 1-tablespoon cookie scoop, portion dough and roll into 1-inch balls—about 20 pieces. Place balls 2 inches apart. Cover and chill 20–25 minutes to firm before dipping; this prevents them from breaking or deforming in the coating. Melt the coating: Place a 10-ounce bag of chocolate melting wafers in a microwave-safe bowl. Microwave at 100% power in 10–15 second intervals, stirring between each until fully melted and smooth. Avoid overheating; stop when there are still a few chips and stir until glossy. Dip and finish: Remove chilled balls and use a fork to dip each into melted chocolate, turning to coat completely. Tap the fork on the bowl edge to remove excess, then use a second fork to slide the truffle back onto the parchment to keep the bottom neat. Immediately sprinkle with graham crumbs or toffee bits if desired. Allow shells to set, then refrigerate until firm.
You Must Know
- These treats freeze well for up to 3 months; thaw in the refrigerator before serving to avoid condensation on the chocolate.
- Because they contain dairy and graham crackers, they are not gluten-free or dairy-free unless you swap specific ingredients.
- Chill time is essential: the centers must be firm to keep their shape during coating—don’t rush the refrigeration step.
- Use unsweetened pumpkin puree only; canned pumpkin pie filling contains added sugars and spices that will alter flavor and texture.
My favorite thing about these bites is how small changes—like swapping milk for dark coating or adding a sprinkle of flaky sea salt—turn them from cozy home snack to elegant dessert. At holiday parties they are small, portable, and feel indulgent without being overwhelming. One Thanksgiving I made three batches in different coatings; guests loved tasting each variation and asked for a to-go box.
Storage Tips
Store finished pieces in an airtight container in the refrigerator for up to 7 days. Place parchment between layers to prevent sticking and keep the container in the coldest part of the fridge. For longer storage, freeze in a single layer on a tray until solid, then transfer to a freezer-safe bag for up to 3 months; thaw in the refrigerator overnight before serving. Avoid storing at room temperature for extended periods, as the chocolate shell will soften and the interior may lose structure.
Ingredient Substitutions
To make dairy-free versions, swap the cream cheese for a firm coconut-based spread and use dairy-free chocolate wafers. For gluten-free, use certified gluten-free graham crumbs or finely ground gluten-free cookies. If you want less sweetness, reduce powdered sugar by 1 tablespoon and use semi-sweet or dark chocolate wafers. To intensify spice, add an extra 1/4 teaspoon pumpkin pie spice or a pinch of ground ginger; for a milder profile, omit the cinnamon.
Serving Suggestions
Present these bites on a small platter lined with autumn leaves or parchment and garnish with a light dusting of finely crushed graham crackers or a dusting of cocoa powder. They pair wonderfully with robust coffee, spiced cider, or dessert wine. For a party, arrange them with assorted coatings—milk chocolate, dark chocolate, and white chocolate—and label each variant. They also make charming edible gifts in decorated boxes.
Cultural Background
Combining pumpkin with warm spices is a hallmark of American fall baking, rooted in colonial use of native squash. These no-bake morsels are a modern twist on old-fashioned pumpkin desserts, marrying elements of pumpkin pie flavors with confectionery techniques similar to chocolate truffles. The graham cracker crumb is an American pantry staple, echoing crusts used in pies and bars, while the chocolate coating nods to classic bonbon-making traditions.
Seasonal Adaptations
In late fall, boost the spice profile with toasted pecans or a whisper of clove; around the holidays, fold in a tablespoon of finely chopped candied ginger for warmth. In winter, swap pumpkin for roasted butternut squash puree and add orange zest. For a summer-friendly twist, reduce spices and add a touch of lemon zest, then dip in white chocolate for a lighter finish.
Meal Prep Tips
Prepare the centers up to two days ahead and keep them chilled, then dip the day of serving for the freshest shell. Use multiple baking sheets (one for forming, one for dipping) so you can continuously chill batches. If making large quantities, set up a dipping station with parchment-lined trays, melted chocolate in a wide bowl, and a spare warm water bath to gently reheat chocolate if it begins to thicken.
These pumpkin bites are an invitation to simplify and celebrate seasonal flavors without hours in the kitchen—small, delightful, and easy to personalize. Try them, tweak the toppings, and make them your own.
Pro Tips
Soften the cream cheese to room temperature for a lump-free, silky center.
Chill the formed centers thoroughly before dipping to prevent them from breaking apart.
Use two forks when dipping: one to submerge and one to slide the coated piece back onto the parchment for a cleaner finish.
Microwave chocolate in short intervals (10–15 seconds) and stir frequently to prevent scorching.
If the chocolate thickens while dipping, warm it gently over a bowl of hot water to restore fluidity.
This nourishing pumpkin truffles recipe is sure to be a staple in your kitchen. Enjoy every moist, high protein slice — it is perfect for breakfast or as a wholesome snack any time.
FAQs about Recipes
Can I freeze the truffles?
Yes. Freeze the truffles in a single layer until solid, then store in a freezer-safe container for up to 3 months. Thaw in the refrigerator before serving.
Can I use pumpkin pie filling instead of pumpkin puree?
Use unsweetened canned pumpkin puree only. Pumpkin pie filling is sweeter and spiced, which changes texture and flavor.
Tags
Pumpkin Truffles
This Pumpkin Truffles recipe makes perfectly juicy, tender, and flavorful steak every time! Serve with potatoes and a side salad for an unforgettable dinner in under 30 minutes.
Instructions
Cream the base
Beat 4 ounces softened cream cheese with 2 tablespoons powdered sugar in a mixing bowl until creamy and smooth, about 1–2 minutes.
Add pumpkin
Mix in 1/3 cup pumpkin puree at medium speed until fully combined and smooth, about 30–45 seconds.
Combine dry ingredients
Add 1 3/4 cups finely ground graham cracker crumbs, 1 teaspoon pumpkin pie spice, and 1/2 teaspoon cinnamon. Mix until a thick dough forms, approximately 1–2 minutes.
Chill the dough
Transfer dough to a bowl, cover, and refrigerate for about 2 hours to firm up before shaping.
Form balls
Scoop 1 tablespoon portions and roll into 1-inch balls, placing them 2 inches apart on a parchment-lined baking sheet. Chill 20–25 minutes before dipping.
Melt the coating
Place 10 ounces of chocolate wafers in a microwave-safe bowl and melt in 10–15 second intervals, stirring until smooth. Do not overheat.
Dip and finish
Use a fork to dip each chilled ball into the melted chocolate, remove excess, and set on parchment. Immediately sprinkle with toppings if desired and refrigerate until set.
Last Step: Please leave a rating and comment letting us know how you liked this recipe! This helps our business to thrive and continue providing free, high-quality recipes for you.
Nutrition
Did You Make This?
Leave a comment & rating below or tag
@velvetyum on social media!
Categories:
You might also like...

Cheesy Zucchini Rollatini
Tender grilled zucchini rolled with a basil-kissed ricotta filling, nestled in marinara, and baked until the mozzarella bubbles and turns golden.

Crispy Zucchini and Squash
Golden, garlicky rounds with a deep-fried crunch made lighter in the air fryer. A fast, vitamin-packed side everyone devours.

Chicken Parmesan Meatballs
Tender chicken meatballs simmered in marinara, finished with melted mozzarella and basil for cozy, weeknight Italian comfort in every bite.
Did You Make This?
Leave a comment & rating below or tag @velvetyum on social media!
Rate This Recipe
Share This Recipe
Enjoyed this recipe? Share it with friends and family, and don't forget to leave a review!
Comments (1)
This recipe looks amazing! Can't wait to try it.
Comments are stored locally in your browser. Server comments are displayed alongside your local comments.

Hi, I'm Emma!
What's Popular

30-Minute Meals!
Join to receive our email series which contains a round-up of some of our quick and easy family favorite recipes.