Southwest Anaheim Stuffed Peppers

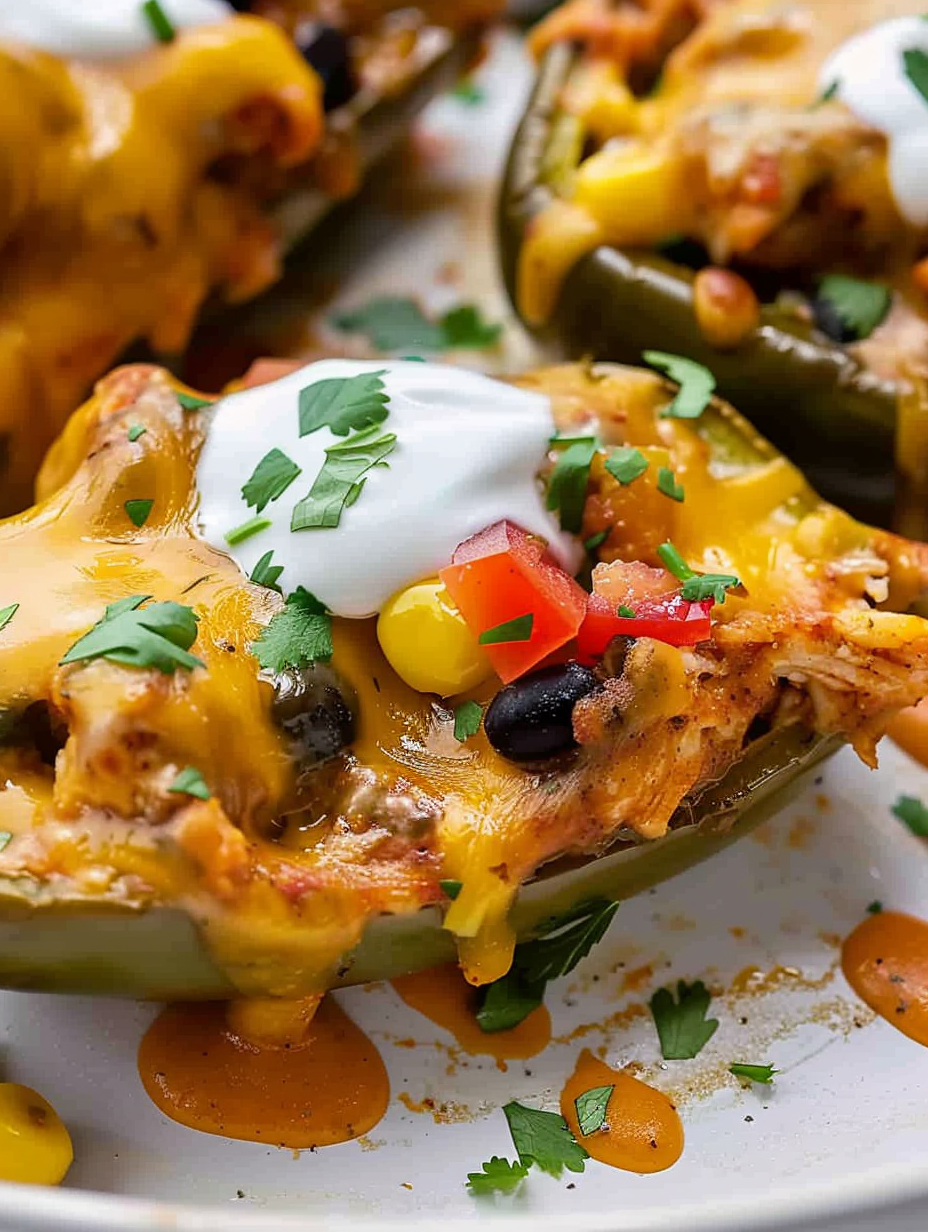
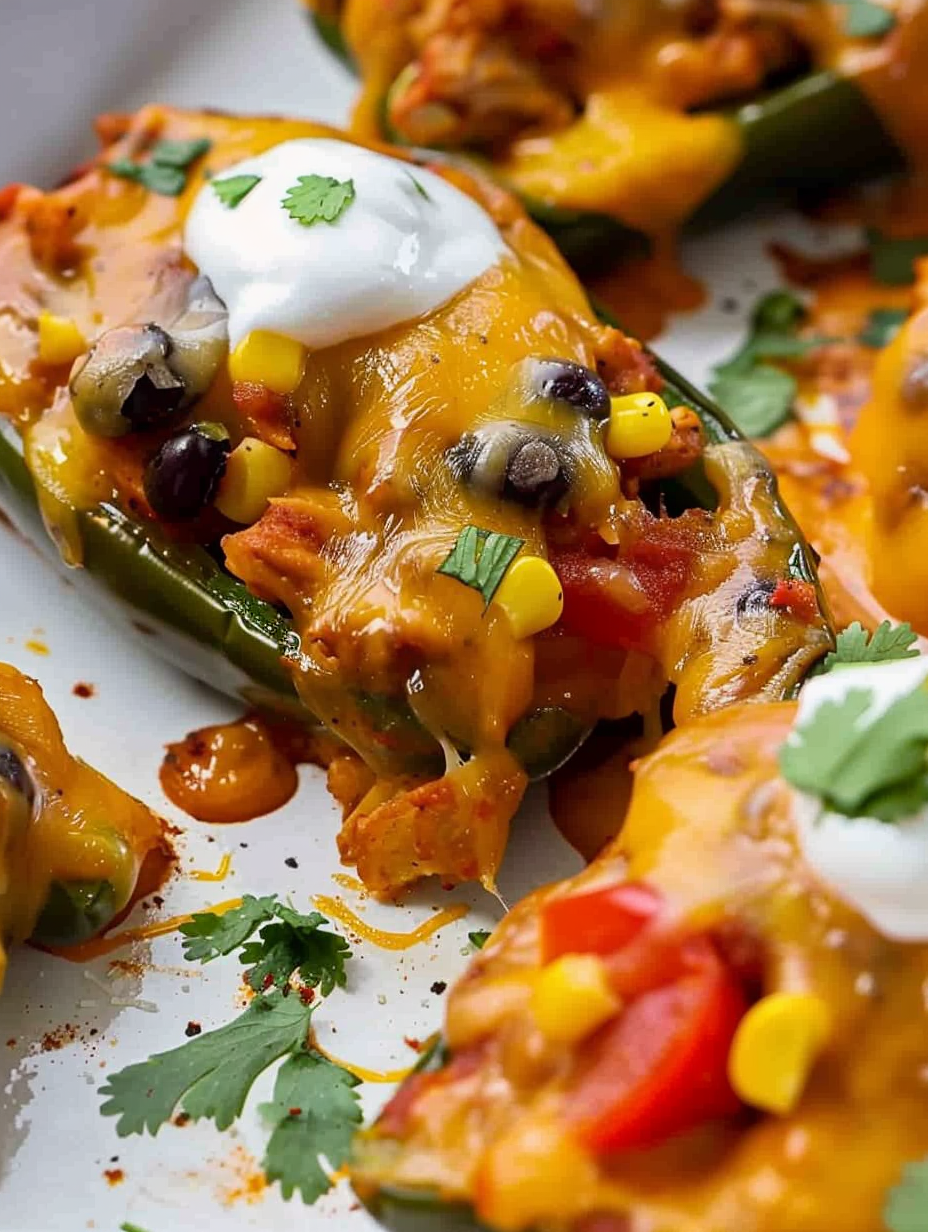
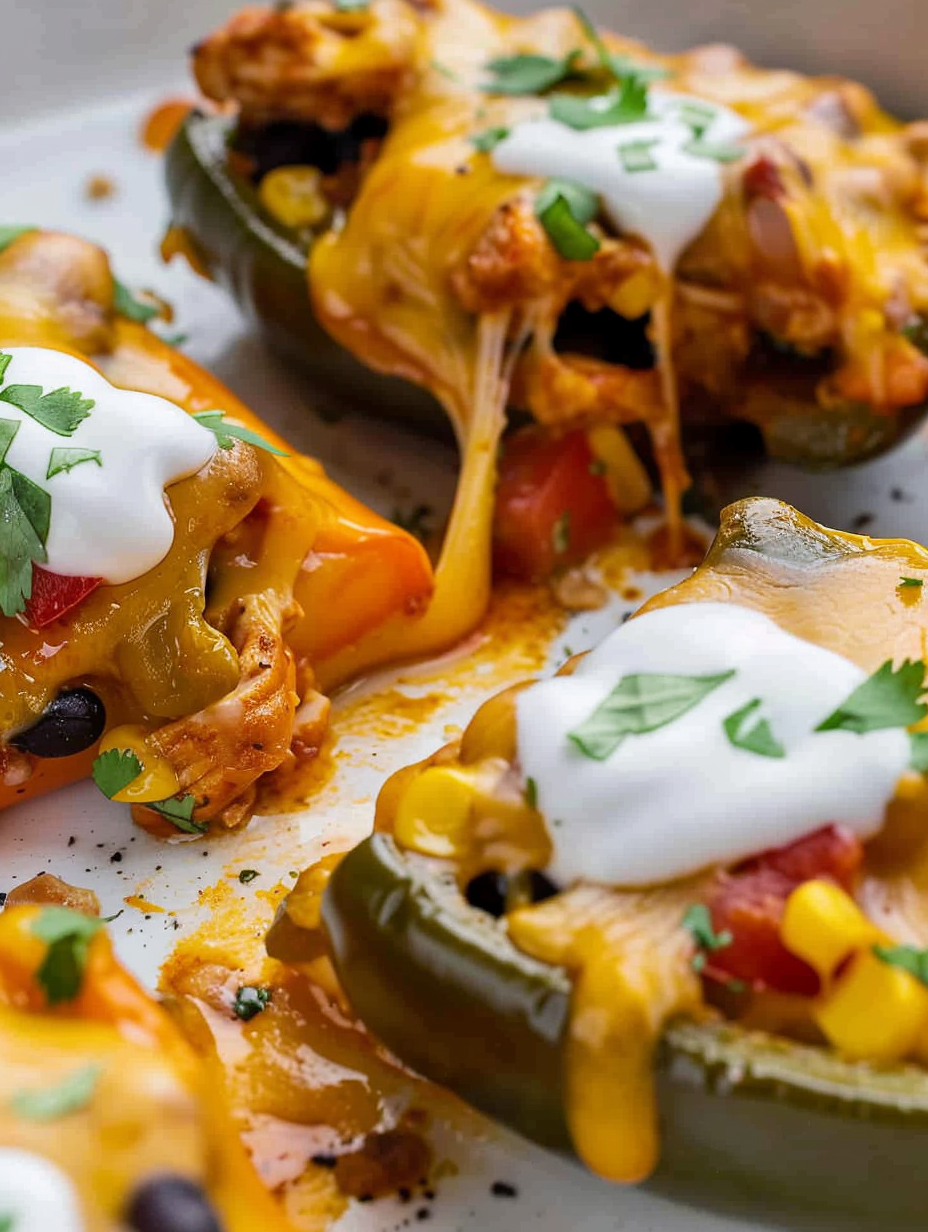
Tender Anaheim peppers loaded with shredded rotisserie chicken, corn, black beans, salsa, and melty cheese for an easy, flavor-packed weeknight main.

Why You'll Love This Recipe
- Ready quickly: total hands-on time is about 10 minutes and total time is 30 minutes, making it ideal for busy weeknights or last minute guests.
- Pantry and fridge friendly: uses a rotisserie chicken or leftover cooked chicken, canned black beans, frozen or fresh corn, and jarred salsa so you can throw it together without a grocery run.
- Family friendly: mild Anaheim peppers keep the heat approachable for kids and adults, while the taco seasoning and salsa deliver familiar southwest flavors.
- Make ahead options: you can prepare the filling in advance and assemble just before baking, or assemble fully and refrigerate for a few hours before cooking.
- Versatile for diets: easily adaptable to vegetarian, dairy free, or lower calorie versions by swapping proteins and cheeses.
- Great for crowds: this batch yields eight stuffed halves and scales easily for potlucks or casual dinner parties.
I have vivid memories of serving these at a small summer gathering. People complimented the balance of creaminess and brightness, and one friend asked for the recipe on the spot. It has become an automatic answer when someone asks what to bring to a casual get together.
Ingredients
- Anaheim peppers: Use four medium Anaheim peppers, halved lengthwise and seeded. Look for firm, glossy peppers without soft spots. Anaheim peppers are mild and slightly sweet which complements the creamy filling without overpowering delicate flavors.
- Shredded rotisserie chicken: Two cups of cooked, shredded chicken creates the hearty base. Rotisserie chicken from the deli is perfect for speed and flavor. If you prefer, poach or roast boneless chicken breasts or thighs and shred them.
- Corn: One cup of corn works well; use thawed frozen kernels for best convenience or fresh kernels when in season. Corn adds sweetness and a pop of texture against the beans and cheese.
- Black beans: One cup, drained and rinsed. Canned black beans are a time saver and add protein, fiber, and a meaty texture to the filling.
- Salsa: One cup of your preferred salsa. Choose a medium heat or mild salsa verde for a fresher profile. A chunkier salsa will yield more texture; a smooth salsa will integrate more into the filling.
- Taco seasoning: Two tablespoons. Use a store-bought blend or a homemade mix of cumin, chili powder, smoked paprika, garlic powder, onion powder, and a pinch of salt for cleaner control of sodium.
- Cream cheese: Six ounces at room temperature. Softened cream cheese makes the filling velvety and helps bind the mixture together. Full fat gives the richest texture but reduced fat will still work.
- Cheddar cheese: One cup shredded. Sharp cheddar provides tang and melts attractively. You can swap for pepper jack for heat or a Mexican blend for convenience.
- Garnishes: Fresh cilantro and sour cream to finish. These brighten and cool the dish when serving.
Instructions
Preheat the oven: Set the oven to 375 degrees Fahrenheit and position a rack in the center. Preheating ensures even cooking so the peppers soften at the same rate the filling heats through. Allow at least 10 minutes for the oven to fully reach temperature. Combine the filling: In a medium bowl, mix 2 cups shredded rotisserie chicken, 1 cup corn, 1 cup drained and rinsed black beans, 1 cup salsa, 2 tablespoons taco seasoning, and 6 ounces softened cream cheese. Stir until the mixture is evenly combined and smooth. Use a spatula to press through any cream cheese lumps. The cream cheese will melt and marry with the salsa when baked, creating a cohesive texture. Prepare the peppers: Cut 4 Anaheim peppers in half lengthwise and remove seeds and membranes with a small spoon. Pat the pepper halves dry with a towel so the filling adheres rather than sliding out. Arrange the halves cut side up in an oven safe skillet or baking dish, slightly nestled so they support one another. Stuff and top: Fill each pepper half generously with the chicken mixture so the filling rises slightly above the pepper rim. Scatter 1 cup shredded cheddar across the tops evenly. The cheese creates a golden binding layer and an appealing finish when melted. Bake until softened: Place the skillet or dish in the preheated oven and bake for about 20 minutes. Look for the peppers to have softened and for the cheese to be fully melted and bubbling at the edges. If you prefer a browned top, switch to broil for 1 to 2 minutes while watching carefully to avoid burning. Garnish and serve: Remove from the oven and let rest 3 minutes. Top with chopped cilantro and a dollop of sour cream before serving. These peppers are best warm and fresh but reheat well for next day lunches.
You Must Know
- This dish freezes well for up to three months if wrapped tightly. Thaw overnight in the refrigerator and reheat in a 350 degree Fahrenheit oven until warmed through.
- High in protein and fiber thanks to the chicken and black beans, each serving offers balanced satiety for a main course portion.
- Storage: refrigerate in an airtight container for up to four days. For best texture, reheat covered to prevent the cheese from over-browning.
- Make it dairy free by swapping cream cheese with a plant based cream cheese and omitting cheddar or using dairy free shredded cheese.
My favorite aspect is the simplicity. Mix, stuff, bake. Yet the flavor reads complex because of the layered ingredients. At a potluck these disappear fast and often inspire requests for the exact taco seasoning blend I use. The contrast of tender pepper and creamy, slightly spicy filling makes this a repeat winner.
Storage Tips
To preserve texture and flavor, cool the peppers to room temperature before refrigerating. Store in a shallow airtight container with a paper towel to absorb excess moisture. Refrigerated peppers keep well for four days. For freezing, place stuffed halves on a tray to flash freeze and then transfer to a freezer safe container or bag. Reheat from frozen in a 350 degree Fahrenheit oven for 25 to 35 minutes until heated through.
Ingredient Substitutions
If you do not have rotisserie chicken, substitute with 2 cooked boneless, skinless chicken breasts shredded, or for a vegetarian version use seasoned crumbled tofu or a can of drained, chopped jackfruit. Swap cream cheese with full fat Greek yogurt for a tangier, lighter filling but reduce yogurt by about one quarter cup to maintain texture. Replace cheddar with Monterey Jack or pepper jack for a spicier finish.
Serving Suggestions
Serve these with a simple green salad, cilantro lime rice, or warm corn tortillas. Garnish with extra cilantro, sliced avocado, pico de gallo, or a squeeze of fresh lime. For a brunch twist, top with a fried egg. These work well as part of a buffet with chips, guacamole, and a crisp slaw.
Cultural Background
Anaheim peppers originate from New Mexico but have been widely adopted in southwestern American cooking. This adaptation leans on classic southwestern pantry ingredients like black beans and corn, reflecting a fusion of Mexican inspired flavors and American weeknight practicality. Stuffed peppers in various forms have long been a method to combine vegetables and protein into one portable, hearty dish.
Seasonal Adaptations
In summer use fresh corn and a pico de gallo salsa for bright, peak flavor. In autumn and winter, swap to roasted corn and a smoky chipotle salsa to deepen the flavor profile. For a holiday twist add small diced roasted sweet potato to the filling for a heartier, seasonal version.
Meal Prep Tips
Prepare the filling up to two days ahead and refrigerate. Half an hour before dinner, preheat the oven, stuff the peppers, and bake. For packed lunches, assemble and bake the night before, then reheat gently in a microwave or oven with a damp paper towel to maintain moisture.
These Southwest Anaheim stuffed peppers are approachable, adaptable, and consistently satisfying. They bridge weeknight ease and bold flavor in a way that makes them easy to love and simple to make your own. Invite friends, share extras, and enjoy the warm, comforting flavors together.
Pro Tips
Soften the cream cheese at room temperature for easier mixing and a silkier filling.
Pat pepper halves dry before stuffing to help the filling adhere and prevent sliding.
If baking multiple pans, rotate them halfway through for even browning.
For a crispier top, broil for 1 to 2 minutes while watching closely.
This nourishing southwest anaheim stuffed peppers recipe is sure to be a staple in your kitchen. Enjoy every moist, high protein slice — it is perfect for breakfast or as a wholesome snack any time.
Tags
Southwest Anaheim Stuffed Peppers
This Southwest Anaheim Stuffed Peppers recipe makes perfectly juicy, tender, and flavorful steak every time! Serve with potatoes and a side salad for an unforgettable dinner in under 30 minutes.

Instructions
Preheat the oven
Preheat oven to 375 degrees Fahrenheit and position the rack in the center to ensure even heat distribution.
Make the filling
In a medium bowl combine shredded chicken, corn, black beans, salsa, taco seasoning, and softened cream cheese. Stir until smooth and fully incorporated.
Prepare peppers
Halve Anaheim peppers lengthwise, remove seeds and membranes, and pat dry. Arrange cut side up in an oven safe skillet or baking dish.
Stuff and top
Fill each pepper half with the chicken mixture, mounding slightly, then sprinkle evenly with shredded cheddar cheese.
Bake and finish
Bake for 20 minutes until peppers are softened and cheese is melted. Optionally broil 1 to 2 minutes for browning. Let rest briefly, then garnish with cilantro and sour cream.
Last Step: Please leave a rating and comment letting us know how you liked this recipe! This helps our business to thrive and continue providing free, high-quality recipes for you.
Nutrition
Did You Make This?
Leave a comment & rating below or tag
@velvetyum on social media!

Categories:
You might also like...

3 Ingredient Strawberry Yogurt Bites
Fresh strawberries, creamy vanilla yogurt, and crunchy granola come together in these portable frozen bites. A simple three ingredient snack that is perfect for breakfast, lunch boxes, or an icy treat.

30 Minute Chickpea and Tomato Coconut Curry Soup (Vegan + Gluten Free)
A cozy, 30-minute chickpea and tomato coconut curry soup made with pantry staples — creamy, vibrant, and naturally vegan and gluten free.

30-Minute Garlic Ginger Glazed Salmon (Gluten Free!)
A quick, pantry-friendly garlic-ginger glazed salmon that’s gluten free, soy free (when using coconut aminos), and naturally sweetened with honey — ready in 30 minutes and perfect for weeknight dinners.

Did You Make This?
Leave a comment & rating below or tag @velvetyum on social media!
Rate This Recipe
Share This Recipe
Enjoyed this recipe? Share it with friends and family, and don't forget to leave a review!
Comments (1)
This recipe looks amazing! Can't wait to try it.
Comments are stored locally in your browser. Server comments are displayed alongside your local comments.
Hi, I'm Emma!
What's Popular
30-Minute Meals!
Join to receive our email series which contains a round-up of some of our quick and easy family favorite recipes.

